 |
 |
|
 |
|
| Author |
Message |
qcwolf
Community Member
Joined: 26 Oct 2012
Posts: 24
Location: Chandler, AZ
|
 Posted: Thu Feb 16, 2017 1:12 pm Post subject: PKD Magnum Build Posted: Thu Feb 16, 2017 1:12 pm Post subject: PKD Magnum Build |
 |
|
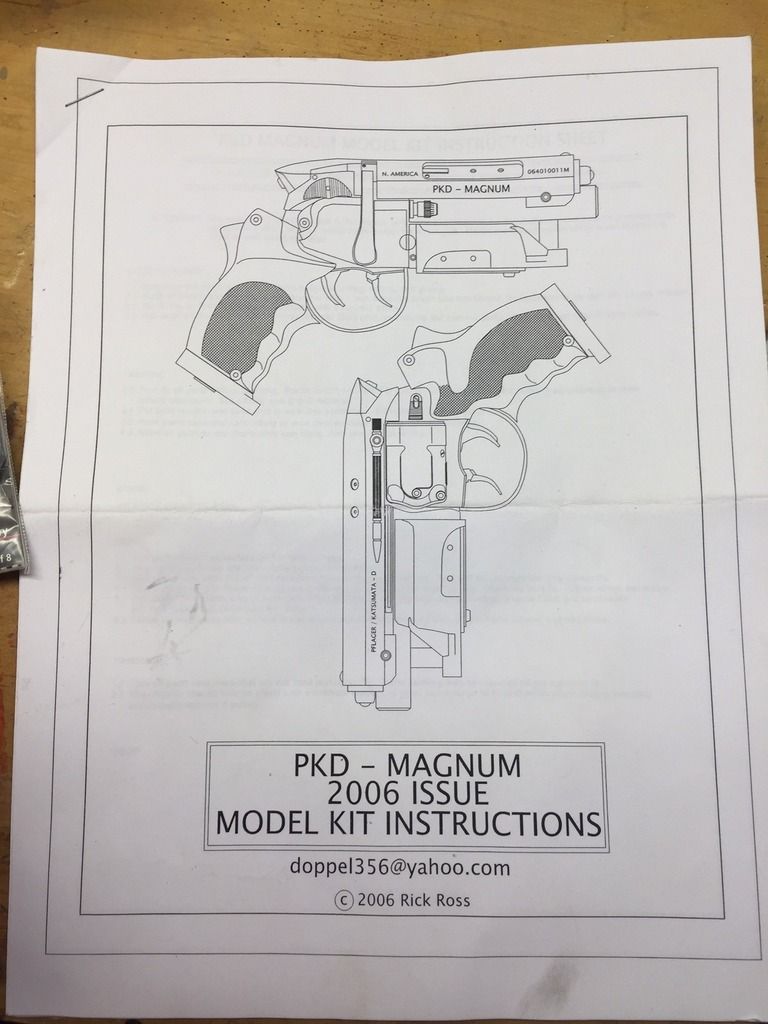
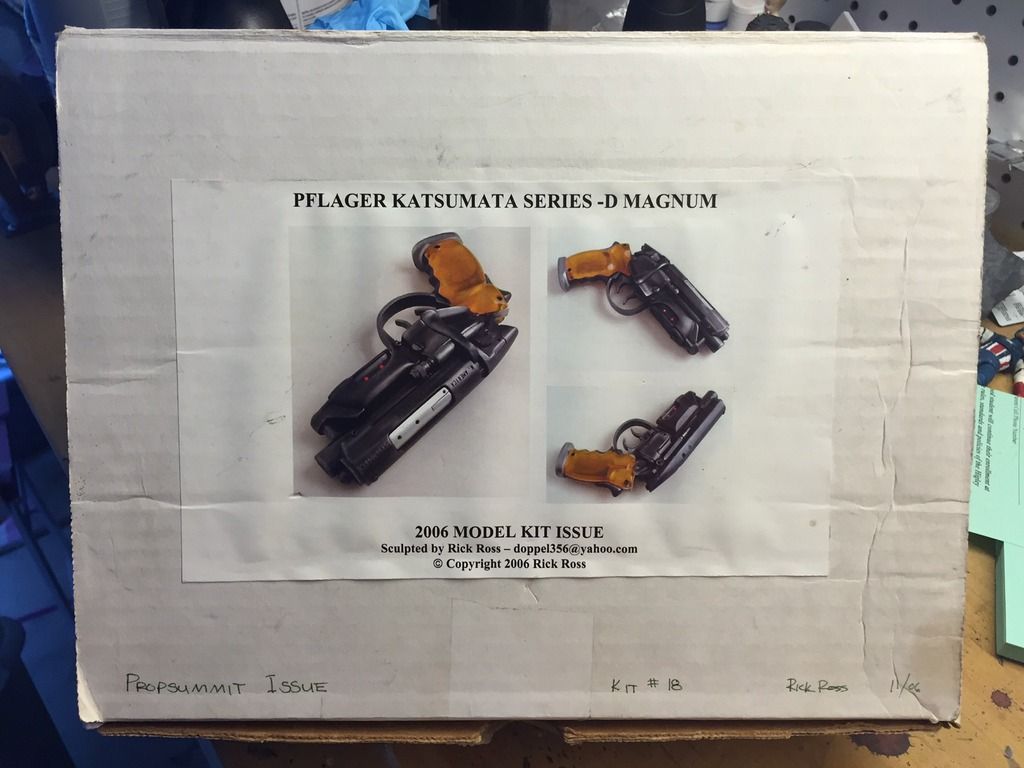
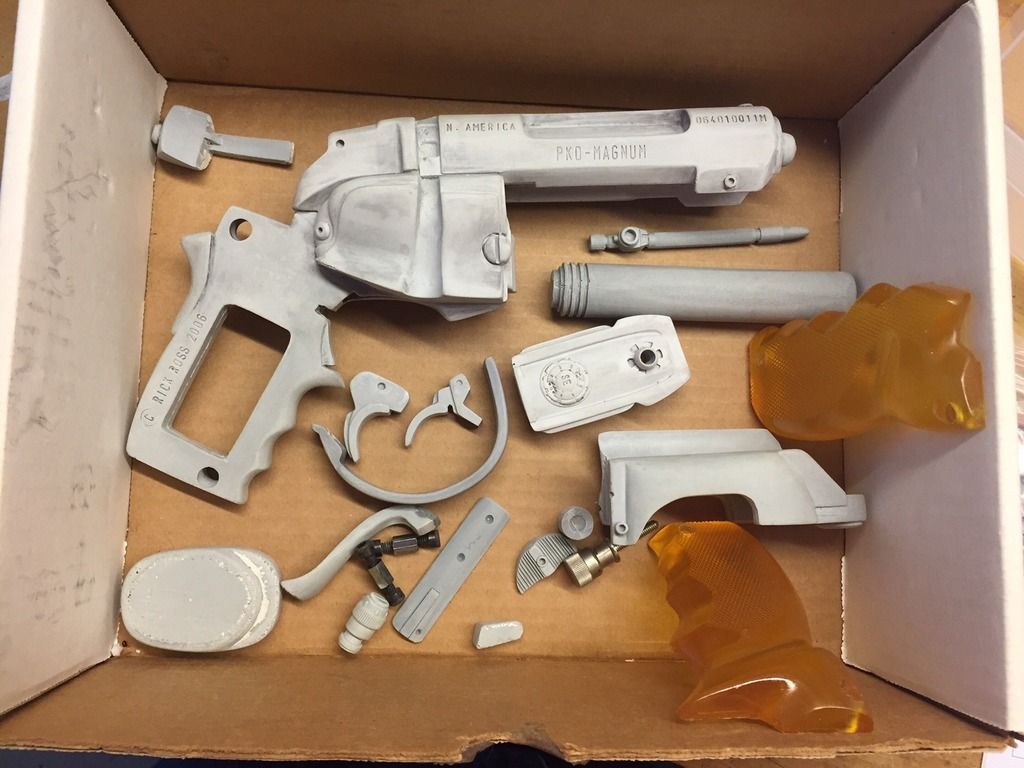
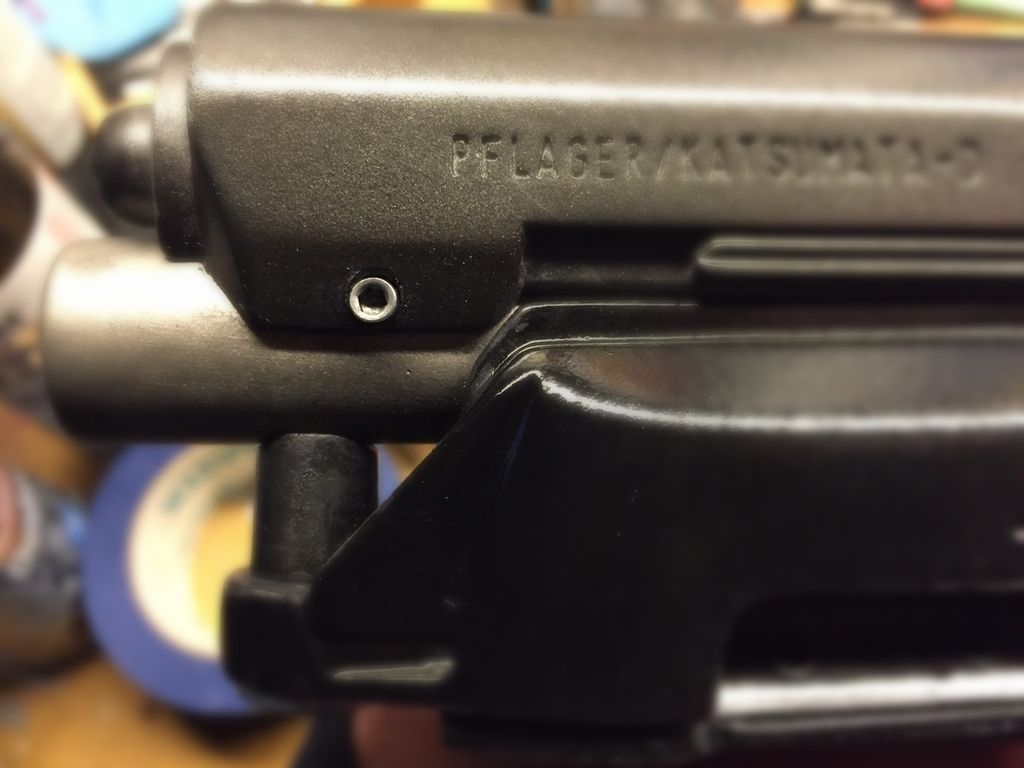
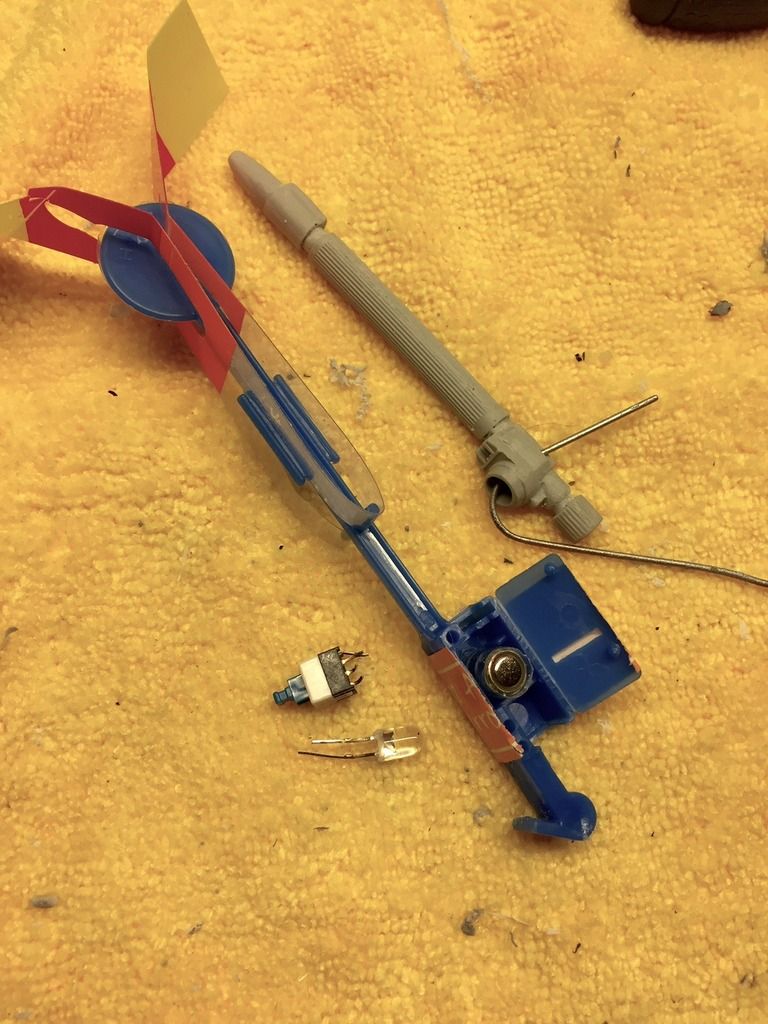
I'm finally getting around to building my Rick Ross PKD Magnum kit. I picked this up a few years ago and I can't believe I've waited this long to begin. It's the PropSummit Issue kit from 2006. From what I've read, this kit began as a regular PKD prototype but when Rick realized that he had a Styer receiver that was too large, rather than start over, he made the Magnum model. This kit looks familiar in many respects but everything is plus-sized. In the photo of the parts, you can see that I've added a large-sized battery terminal knob. I got this knob from the same EE-8 field radio as the regular size knob that I used for my Sidkit version. The radio has two large knobs as well as two smaller ones so I figured I'd use it in place of the resin part that came with the kit. I'll post more progress photos as progress is made.
 |
|
| Back to top |
|
|
|
|
 |
|
 |
|
|
|
|
| Author |
Message |
joberg
Community Member
.jpg)
Joined: 06 Oct 2008
Posts: 9447
|
| Posted: Fri Feb 17, 2017 7:23 am Post subject: |
|
|
Eager to see the build  |
|
| Back to top |
|
|
|
|
|
|
|
|
|
|
|
| Author |
Message |
amish
Community Guide
Joined: 11 Apr 2006
Posts: 1433
Location: Outside Philadelphia
|
|
| Back to top |
|
|
|
|
|
|
|
|
|
|
|
| Author |
Message |
rickhoward
Community Guide

Joined: 03 Jul 2016
Posts: 279
Location: Midwestopia, USA
|
| Posted: Fri Feb 17, 2017 10:38 am Post subject: |
|
|
| I'm looking forward to your build as well. Good luck! |
|
| Back to top |
|
|
|
|
|
|
|
|
|
|
|
| Author |
Message |
qcwolf
Community Member
Joined: 26 Oct 2012
Posts: 24
Location: Chandler, AZ
|
| Posted: Fri Feb 17, 2017 11:03 am Post subject: |
|
|
Thanks for all the kind words! Stay tuned.
_________________
"Good judgement comes from experience and a lot of that comes from bad judgment."
Will Rogers |
|
| Back to top |
|
|
|
|
|
|
|
|
|
|
|
| Author |
Message |
qcwolf
Community Member
Joined: 26 Oct 2012
Posts: 24
Location: Chandler, AZ
|
| Posted: Fri Feb 17, 2017 11:04 am Post subject: |
|
|
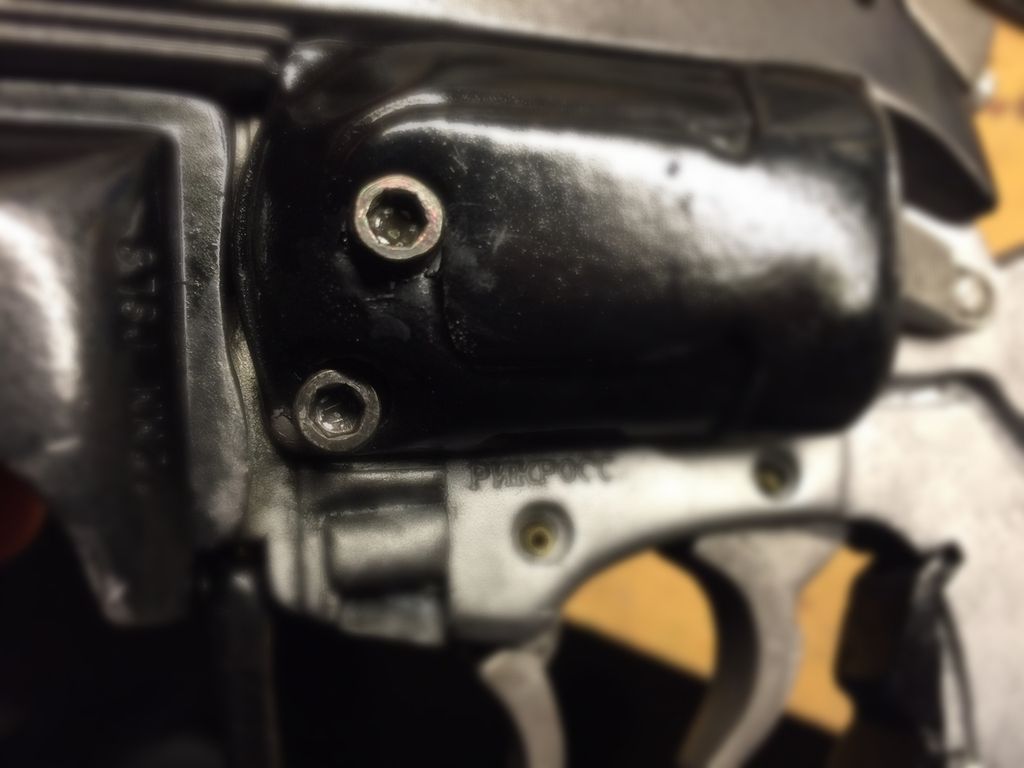
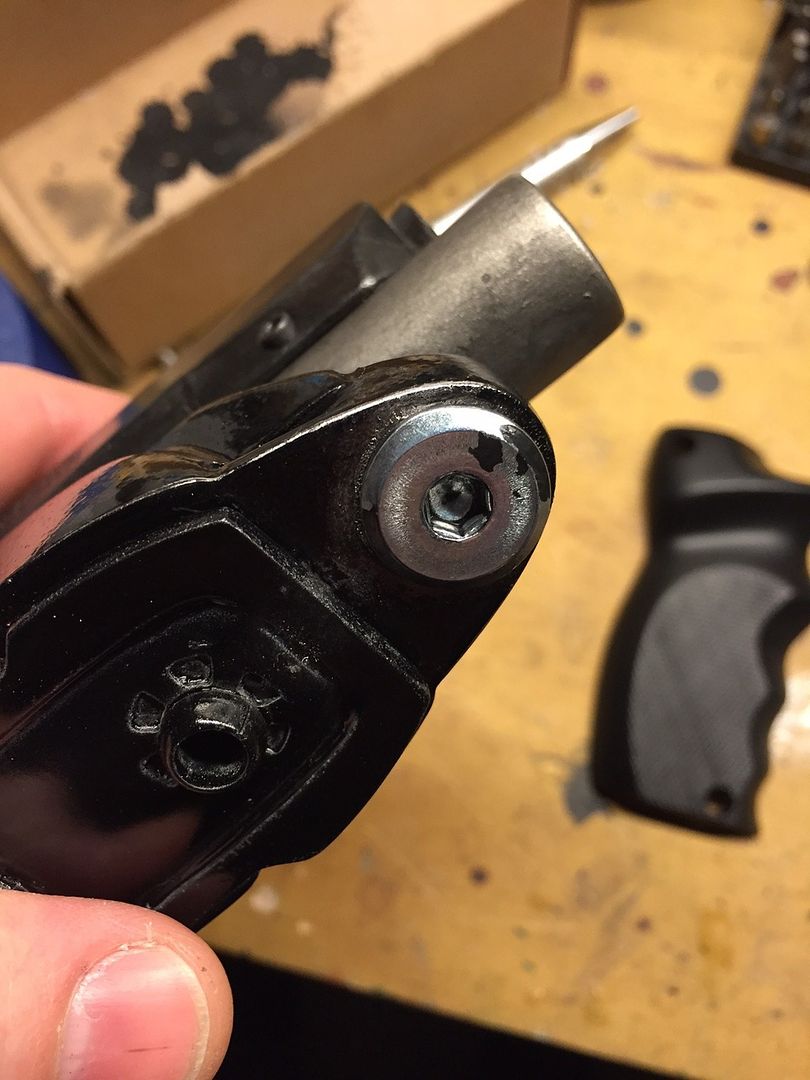
The kit was molded with all of the screws in place. While the detail is really good, I decided to drill out the molded screws and replace them with real ones. This also gives me the ability to assemble this thing with little or no glue and I can take it apart later just by unscrewing the pieces.
_________________
"Good judgement comes from experience and a lot of that comes from bad judgment."
Will Rogers |
|
| Back to top |
|
|
|
|
|
|
|
|
|
|
|
| Author |
Message |
joberg
Community Member
Joined: 06 Oct 2008
Posts: 9447
|
| Posted: Sat Feb 18, 2017 12:12 pm Post subject: |
|
|
Good call, nothing replaces the real thing (screws that is)  |
|
| Back to top |
|
|
|
|
|
|
|
|
|
|
|
| Author |
Message |
qcwolf
Community Member
Joined: 26 Oct 2012
Posts: 24
Location: Chandler, AZ
|
| Posted: Tue Feb 21, 2017 12:00 pm Post subject: |
|
|
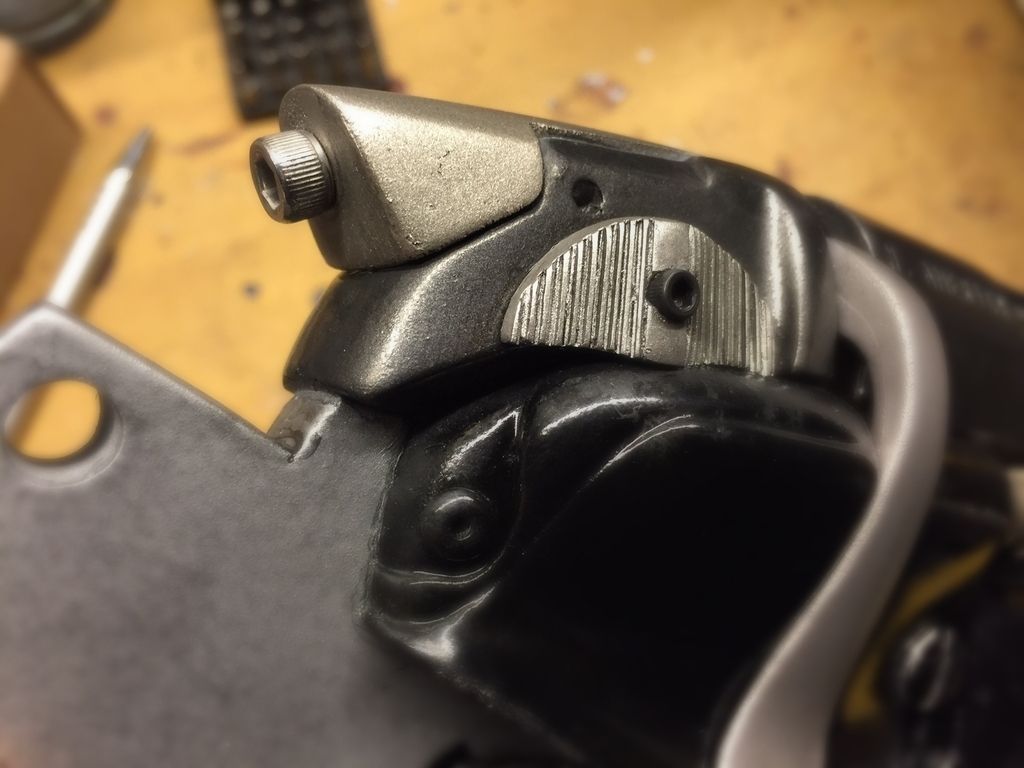
I got quite a bit done this weekend and drilled out most of the molded screws and replaced them with real ones. I'm still in the process of weathering and painting so what you see is close but not the final finishes.
_________________
"Good judgement comes from experience and a lot of that comes from bad judgment."
Will Rogers |
|
| Back to top |
|
|
|
|
|
|
|
|
|
|
|
| Author |
Message |
joberg
Community Member
Joined: 06 Oct 2008
Posts: 9447
|
| Posted: Tue Feb 21, 2017 12:13 pm Post subject: |
|
|
| Looking good so far. |
|
| Back to top |
|
|
|
|
|
|
|
|
|
|
|
| Author |
Message |
qcwolf
Community Member
Joined: 26 Oct 2012
Posts: 24
Location: Chandler, AZ
|
| Posted: Wed Feb 22, 2017 10:47 am Post subject: |
|
|
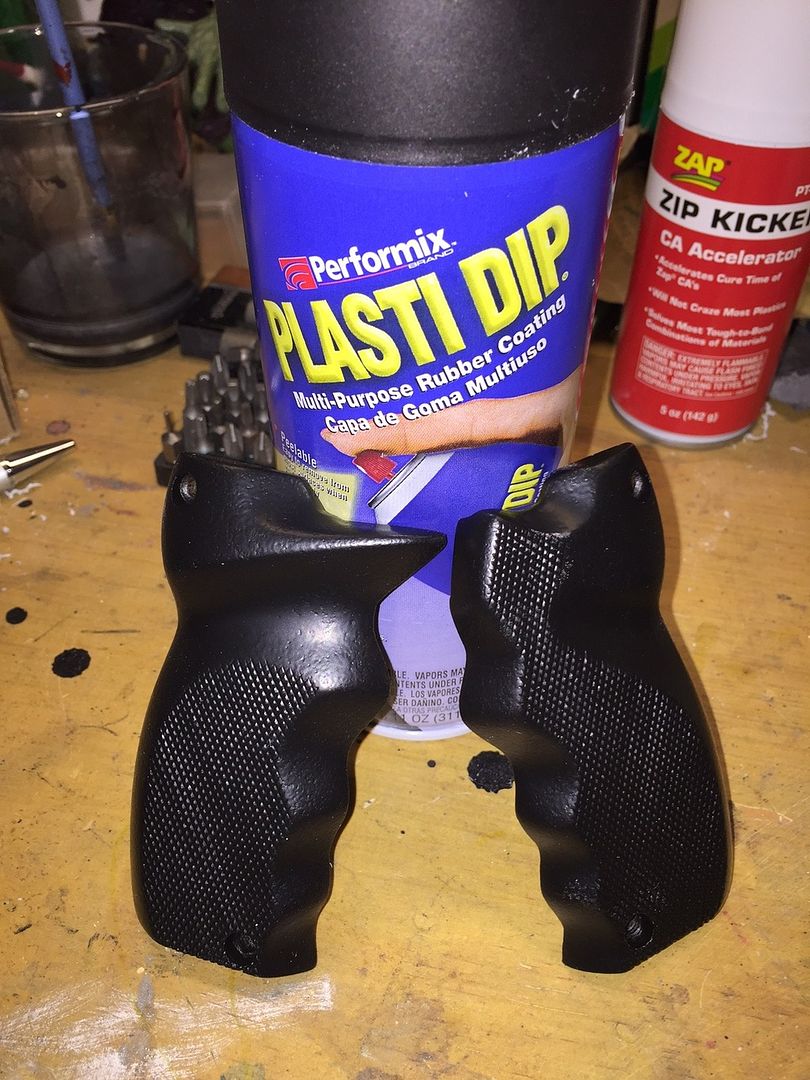
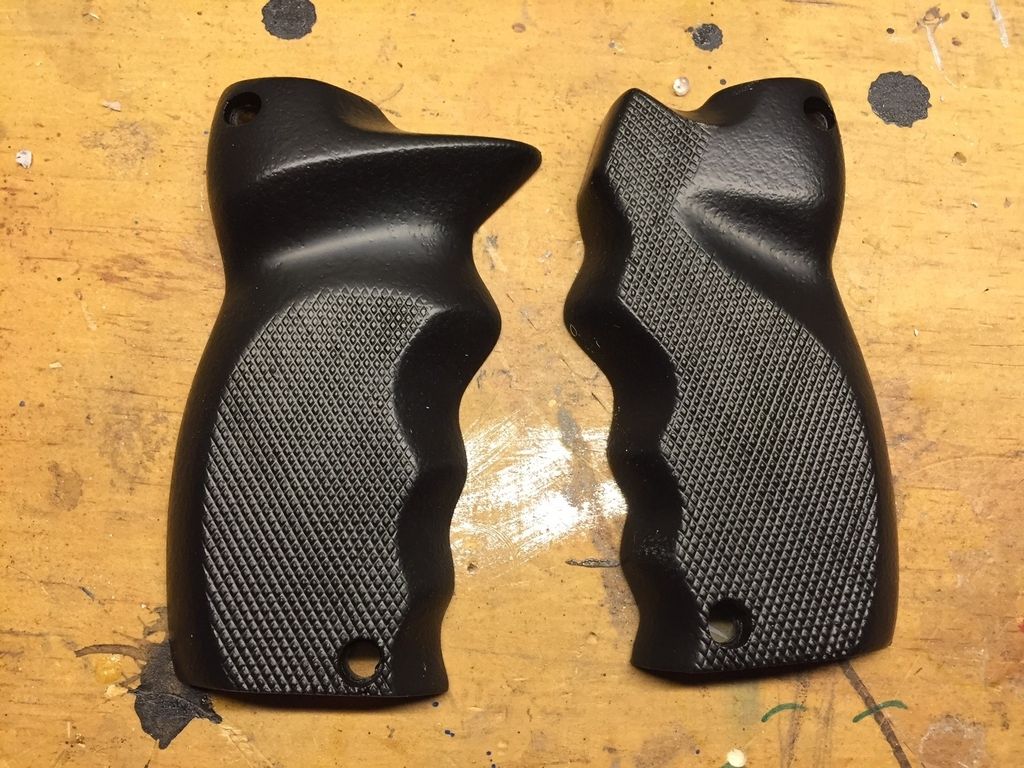
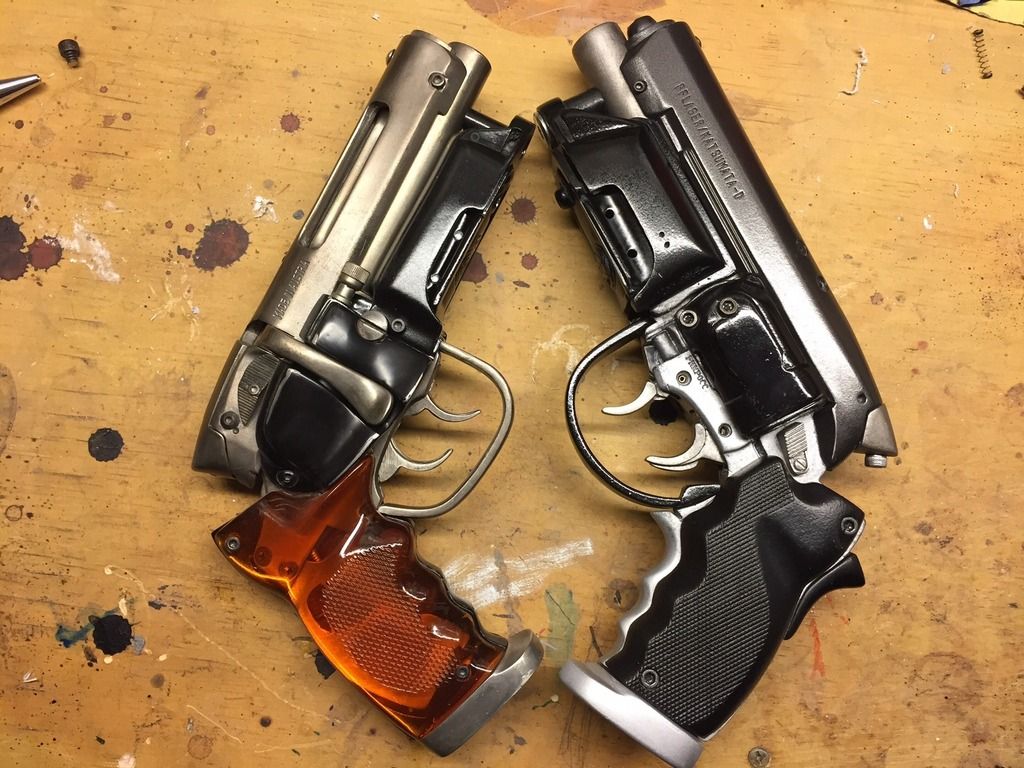
I went a different direction with the grips. The grips that came with the kit are the traditional transparent amber color but both my Sidkit and Coyle versions have the amber grips so I wanted a little bit different look for the Magnum. The KMS Enforcer has rubber grips and they feel really cool in the hand so I thought I'd try an experiment with PlastiDip. I put on 3 coats, waiting 30 minutes between each coat and I really like the way the texture turned out. I figured if I didn't like it I could just peel it off.
_________________
"Good judgement comes from experience and a lot of that comes from bad judgment."
Will Rogers |
|
| Back to top |
|
|
|
|
|
|
|
|
|
|
|
| Author |
Message |
qcwolf
Community Member
Joined: 26 Oct 2012
Posts: 24
Location: Chandler, AZ
|
| Posted: Wed Feb 22, 2017 10:51 am Post subject: |
|
|
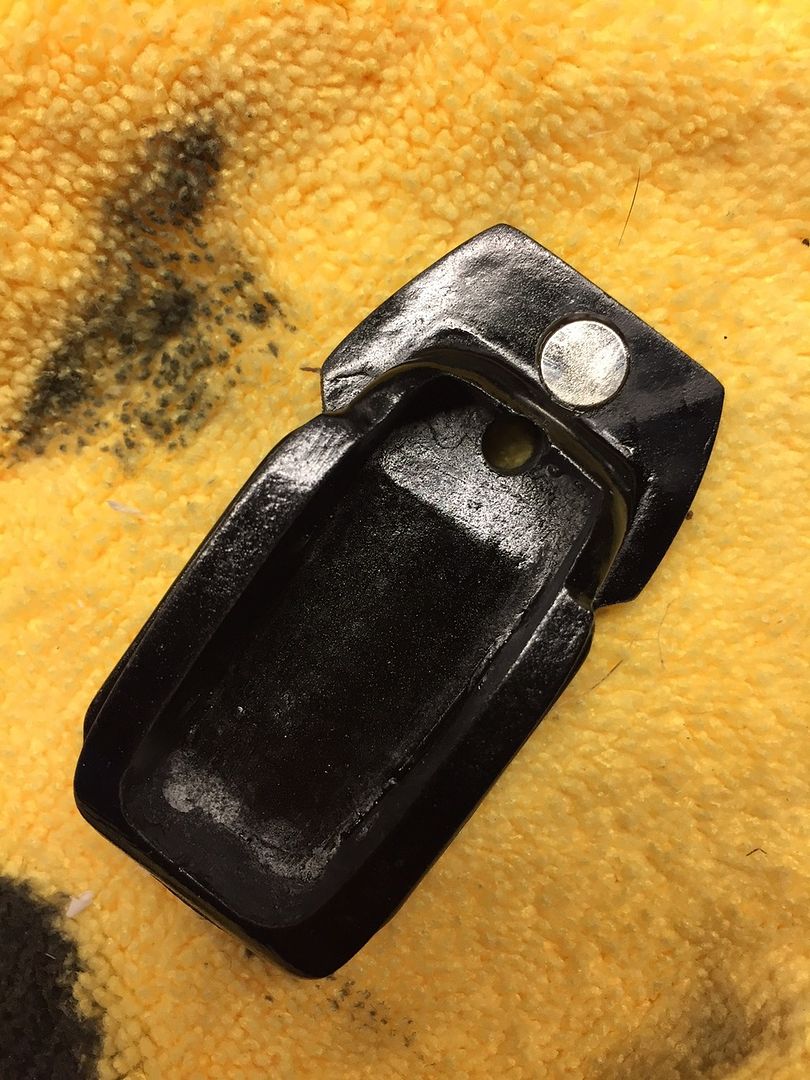
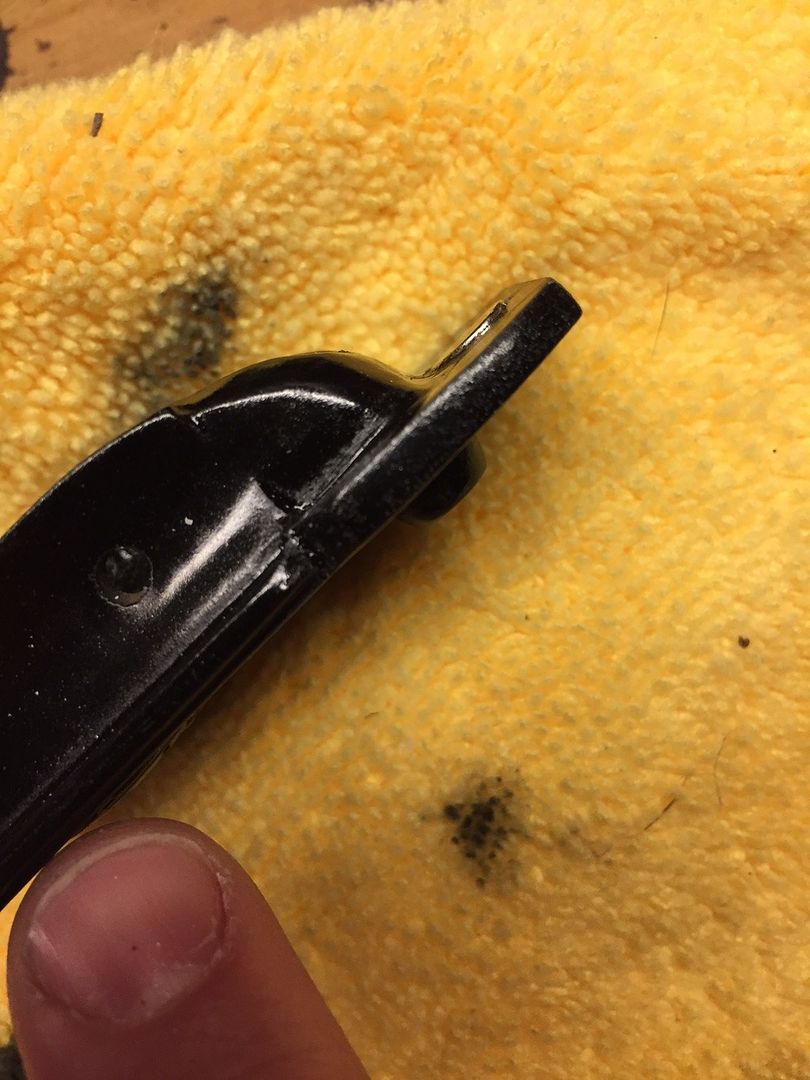
I also added a rare earth magnet to the ammo housing light box. This worked out really well because not only is it held on securely but it's easy to remove. I drilled out the lip so the magnet would fit flush. Again, the paint finish isn't final. I decided on the magnet approach after I had already sprayed a coat of black. After drilling, it needs some touch ups.

_________________
"Good judgement comes from experience and a lot of that comes from bad judgment."
Will Rogers |
|
| Back to top |
|
|
|
|
|
|
|
|
|
|
|
| Author |
Message |
joberg
Community Member
Joined: 06 Oct 2008
Posts: 9447
|
| Posted: Thu Feb 23, 2017 8:51 am Post subject: |
|
|
| Looking good for sure. Love the grip, makes it different for sure |
|
| Back to top |
|
|
|
|
|
|
|
|
|
|
|
| Author |
Message |
qcwolf
Community Member
Joined: 26 Oct 2012
Posts: 24
Location: Chandler, AZ
|
| Posted: Thu Feb 23, 2017 5:53 pm Post subject: |
|
|
| joberg wrote: | | Looking good for sure. Love the grip, makes it different for sure |
Thank you! It feels cool too.
_________________
"Good judgement comes from experience and a lot of that comes from bad judgment."
Will Rogers |
|
| Back to top |
|
|
|
|
|
|
|
|
|
|
|
| Author |
Message |
qcwolf
Community Member
Joined: 26 Oct 2012
Posts: 24
Location: Chandler, AZ
|
| Posted: Thu Feb 23, 2017 5:57 pm Post subject: |
|
|
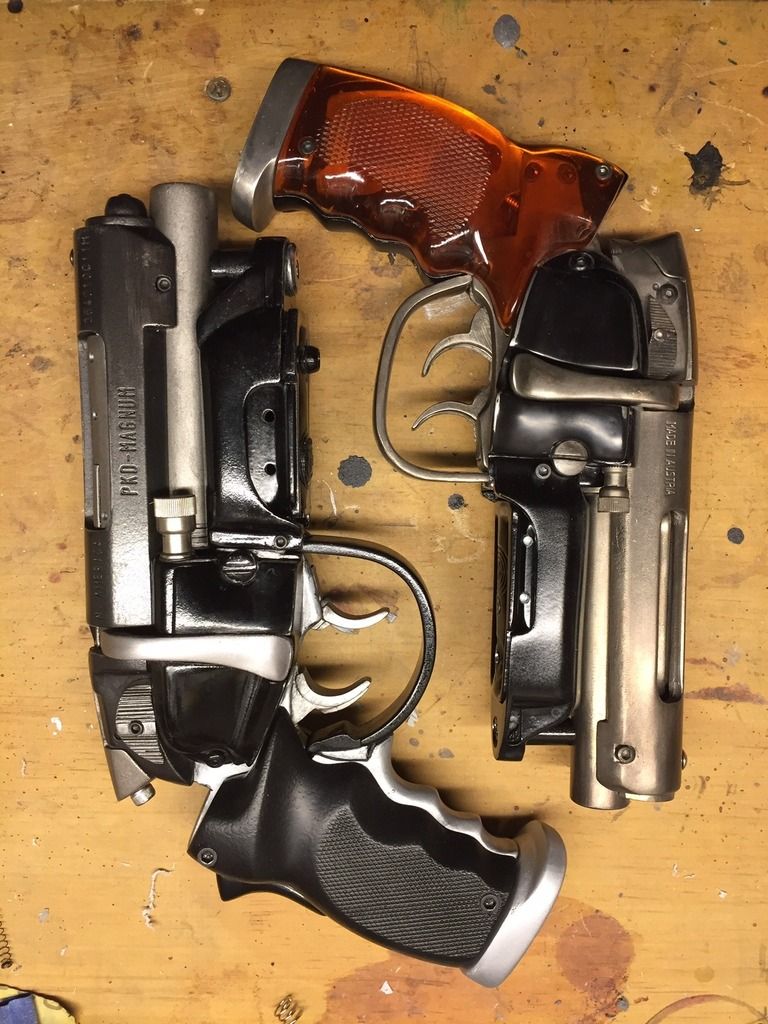
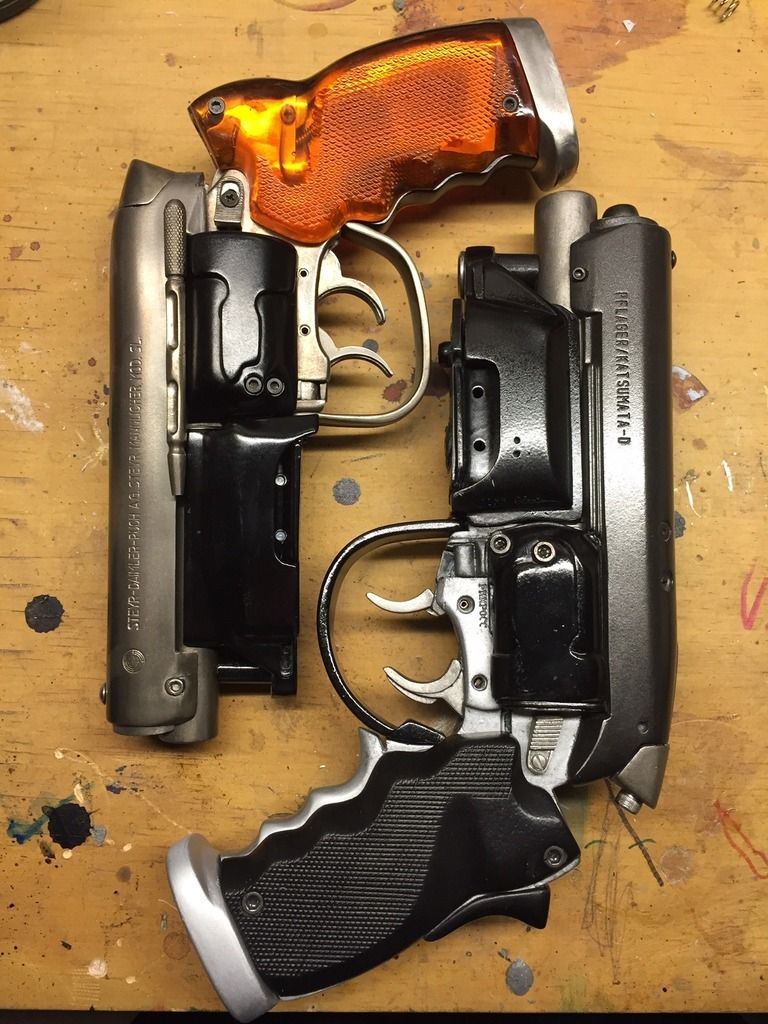
Here is a WIP comparison shot with my Sid Kit.

_________________
"Good judgement comes from experience and a lot of that comes from bad judgment."
Will Rogers |
|
| Back to top |
|
|
|
|
|
|
|
|
|
|
|
| Author |
Message |
joberg
Community Member
Joined: 06 Oct 2008
Posts: 9447
|
| Posted: Fri Feb 24, 2017 7:23 am Post subject: |
|
|
Beauty shots  |
|
| Back to top |
|
|
|
|
|
|
|
|
|
|
|
| Author |
Message |
qcwolf
Community Member
Joined: 26 Oct 2012
Posts: 24
Location: Chandler, AZ
|
| Posted: Fri Feb 24, 2017 9:44 am Post subject: |
|
|
| joberg wrote: | | Beauty shots |
Thank you!
_________________
"Good judgement comes from experience and a lot of that comes from bad judgment."
Will Rogers |
|
| Back to top |
|
|
|
|
|
|
|
|
|
|
|
| Author |
Message |
qcwolf
Community Member
Joined: 26 Oct 2012
Posts: 24
Location: Chandler, AZ
|
| Posted: Fri Feb 24, 2017 9:54 am Post subject: |
|
|
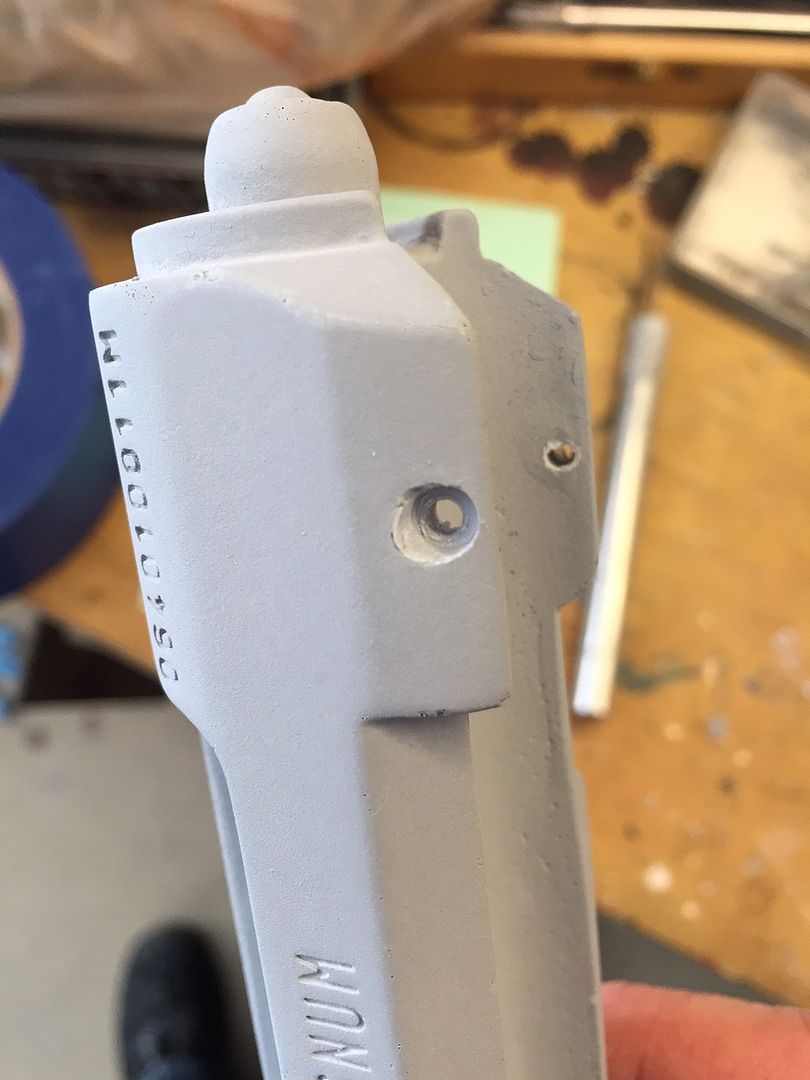
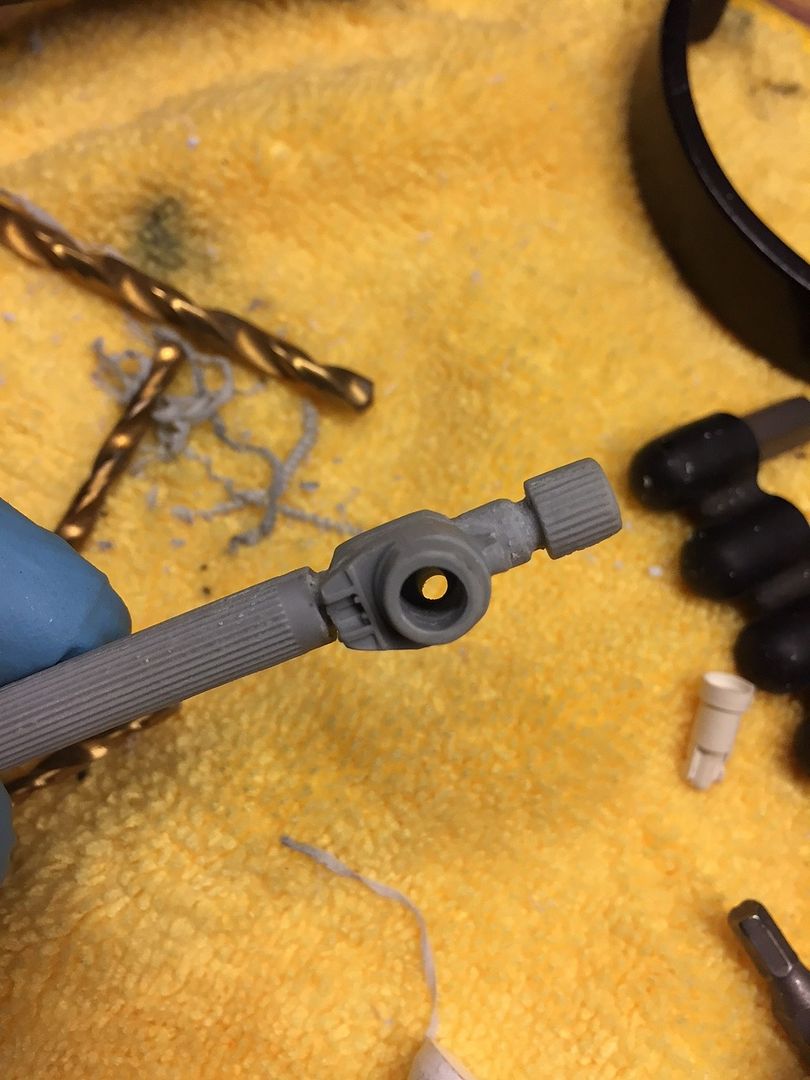
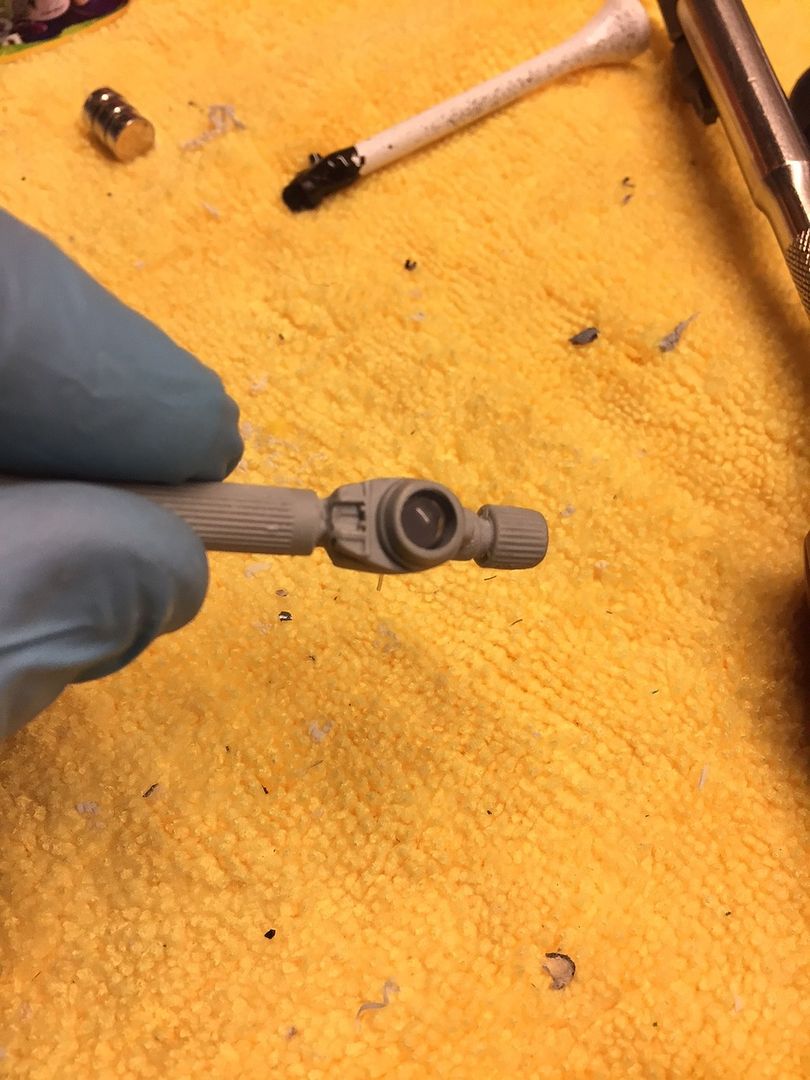
So I got this idea in my head that I wanted to add an LED to the sight rod. It has this perfect spot for one so I drilled out the hole to make room. Then I drilled two smaller holes on the back to allow the leads to protrude through (sort of like a Christmas tree light). I'm using the blacklight LED from one of these things.
_________________
"Good judgement comes from experience and a lot of that comes from bad judgment."
Will Rogers |
|
| Back to top |
|
|
|
|
|
|
|
|
|
|
|
| Author |
Message |
qcwolf
Community Member
Joined: 26 Oct 2012
Posts: 24
Location: Chandler, AZ
|
| Posted: Fri Feb 24, 2017 9:57 am Post subject: |
|
|
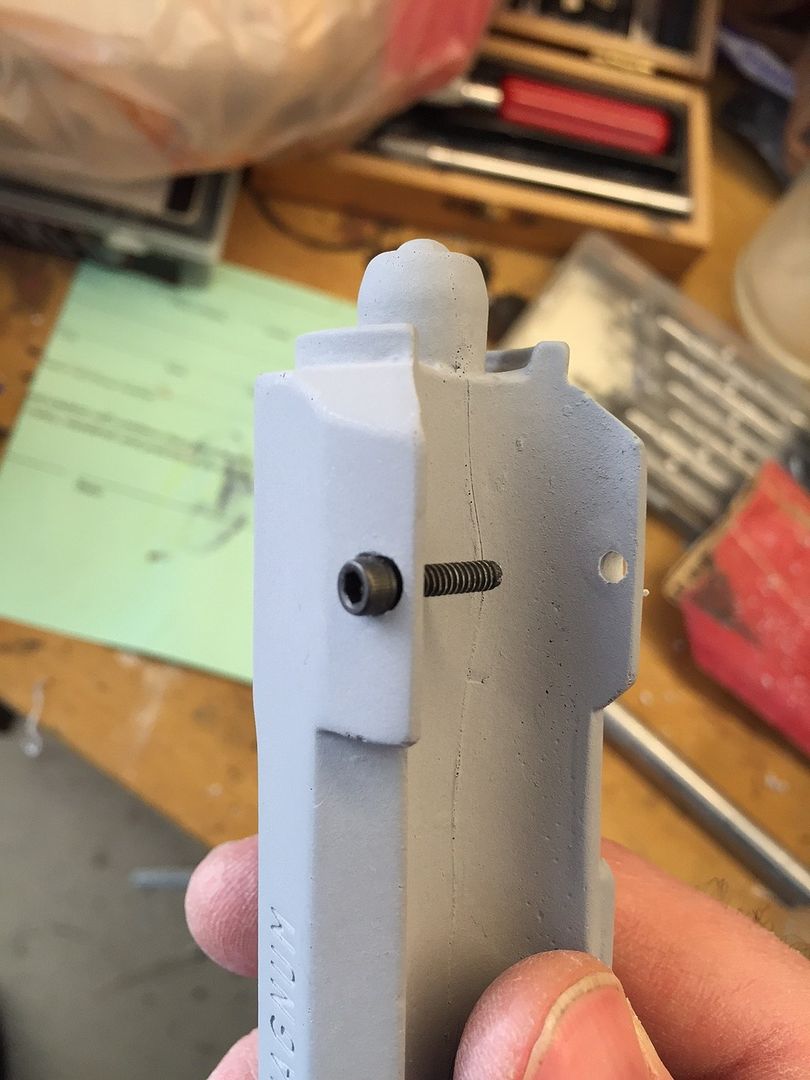
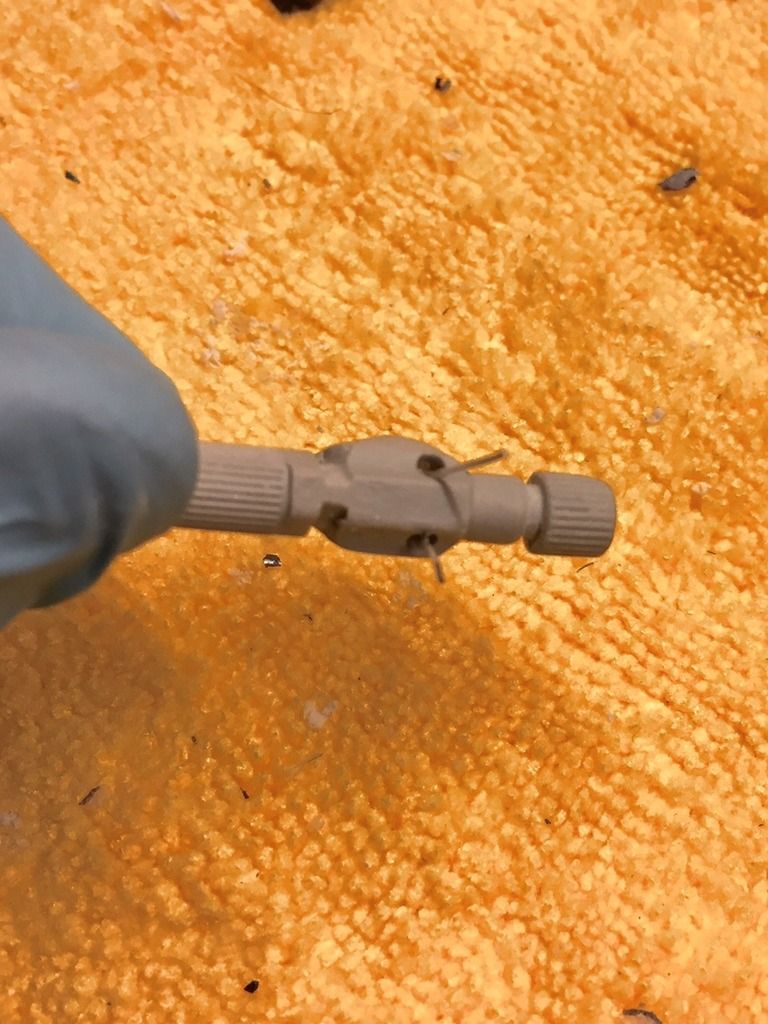
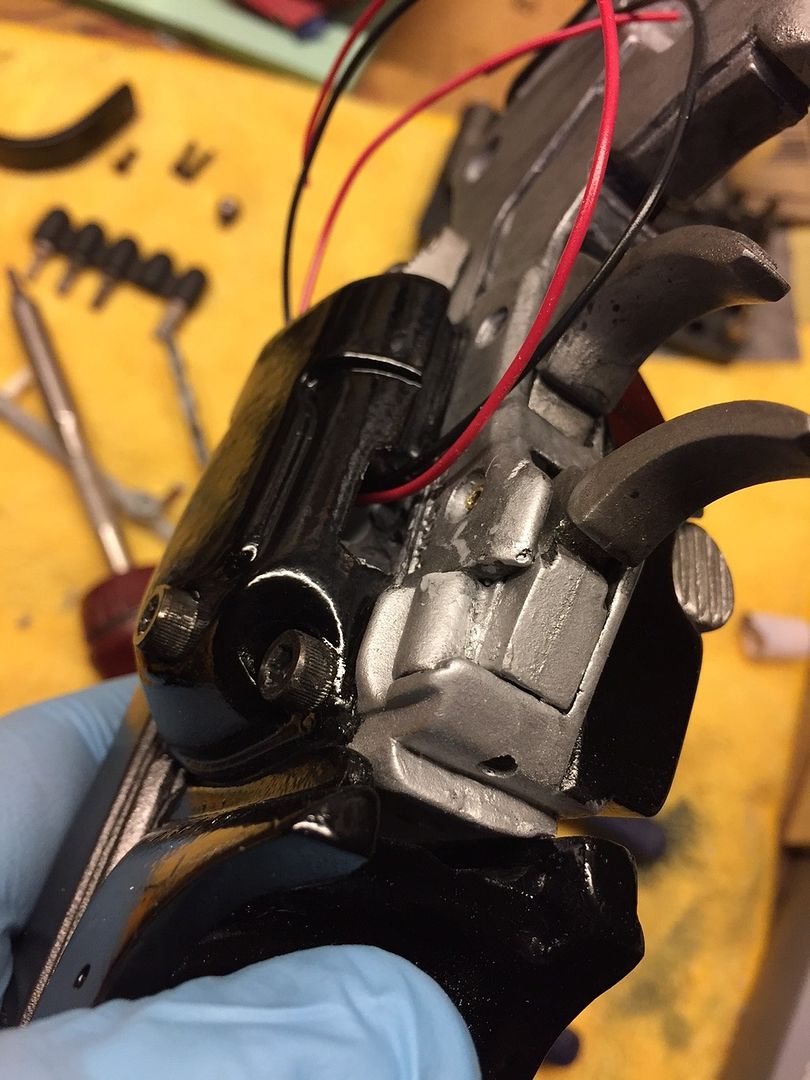
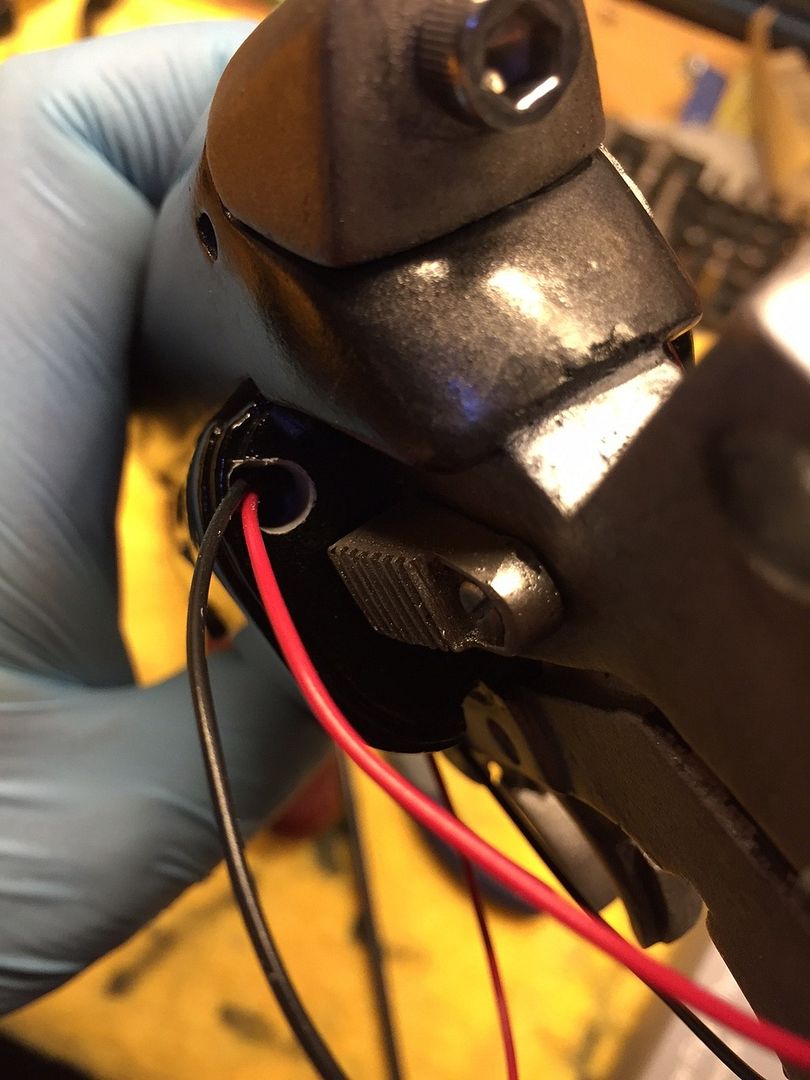
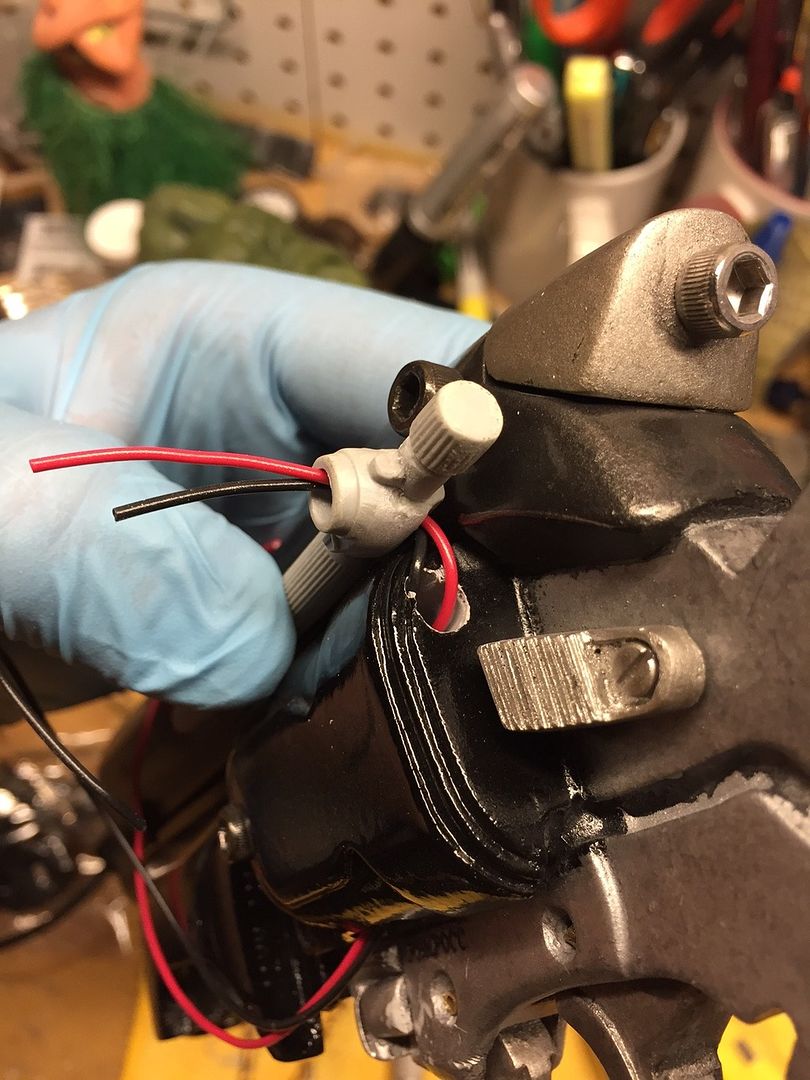
Since deciding to add the LED to the sight rod, that added another challenge: how to get wiring to the light in an unobtrusive way. I made a reckless decision and did this:
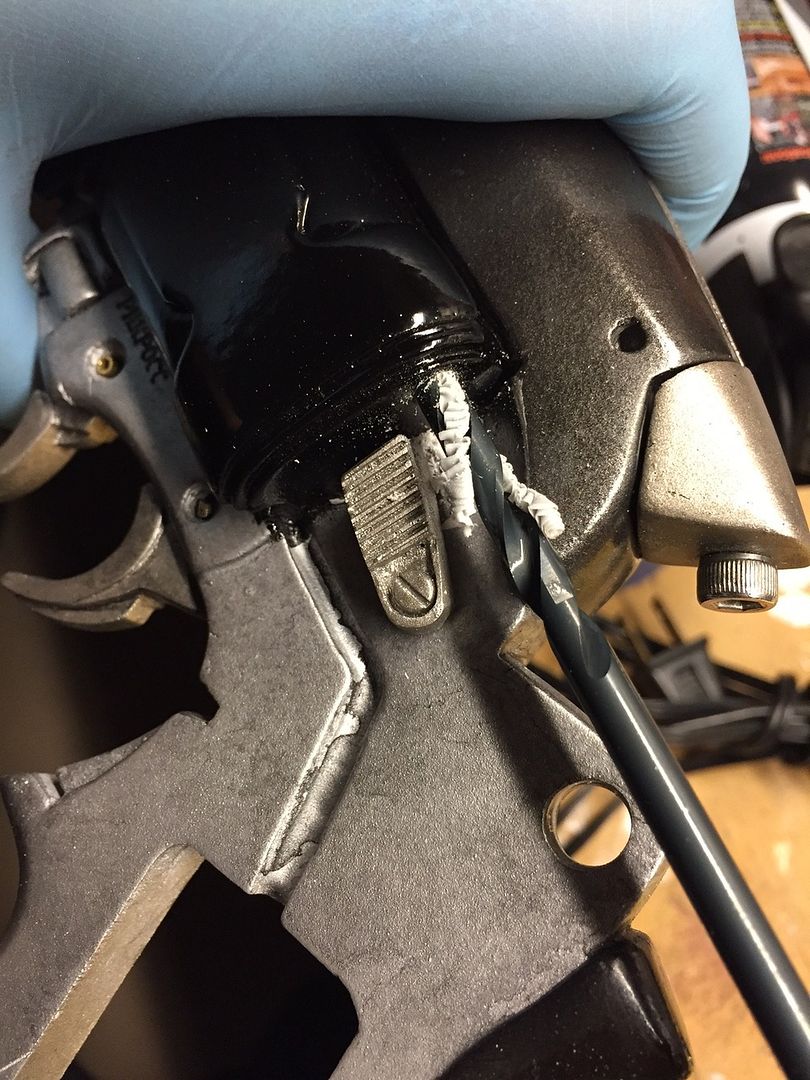
I drilled in through the back and then up through the bottom so the drill holes would meet. Easier said than done. The kit has a small cavity underneath the "cylinder" cover that is for the on/off switch so I was able to hide the lower drill hole inside that. Then I ran the wires through to make sure everything fit ok. The hole is larger than I would have liked but it was needed in order to make the drill holes meet more easily. Meh, it's only plastic, I can fill the hole later.
_________________
"Good judgement comes from experience and a lot of that comes from bad judgment."
Will Rogers |
|
| Back to top |
|
|
|
|
|
|
|
|
|
|
|
| Author |
Message |
veektohr
Community Member
Joined: 26 Feb 2016
Posts: 237
Location: Los Angeles
|
| Posted: Fri Feb 24, 2017 10:37 pm Post subject: |
|
|
Is the magnum sized so that the binding post is the same size as the large ones on the EE-8 radio? If it is, I've got an upgrade for yah!
Awesome build, btw. I wish Rick was still putting these out : / |
|
| Back to top |
|
|
|
|
|
|
|
|
|
|
|
| Author |
Message |
qcwolf
Community Member
Joined: 26 Oct 2012
Posts: 24
Location: Chandler, AZ
|
| Posted: Sat Feb 25, 2017 11:48 am Post subject: |
|
|
The binding post that is on the gun at the moment is the large one from an EE-8 radio. It fits with the beefier size of the gun. What type of upgrade do you have in mind?
_________________
"Good judgement comes from experience and a lot of that comes from bad judgment."
Will Rogers |
|
| Back to top |
|
|
|
|
|
|
|
|
|
|
|
|
You cannot post new topics in this forum
You cannot reply to topics in this forum
You cannot edit your posts in this forum
You cannot delete your posts in this forum
You cannot vote in polls in this forum
|
|
|
|
|
|
|
|


