 |
 |
|
 |
|
| Author |
Message |
clutch
Community Member

Joined: 12 Dec 2006
Posts: 548
|
 Posted: Wed Jun 03, 2009 9:30 am Post subject: Posted: Wed Jun 03, 2009 9:30 am Post subject: |
 |
|
| That is some hardcore stuff right there! |
|
| Back to top |
|
|
|
|
 |
|
 |
|
|
|
|
| Author |
Message |
hirohawa
Community Member

Joined: 18 May 2006
Posts: 1067
|
| Posted: Wed Jun 03, 2009 9:16 pm Post subject: |
|
|
| Looks awesome. What are you using to cut the Aluminum? |
|
| Back to top |
|
|
|
|
|
|
|
|
|
|
|
| Author |
Message |
Photech
Community Member
Joined: 05 May 2009
Posts: 207
Location: Australia
|
| Posted: Thu Jun 04, 2009 10:24 pm Post subject: |
|
|
| hirohawa wrote: | | Looks awesome. What are you using to cut the Aluminum? |
A Big noisey industrial jigsaw a mate of mine has.
The bolt is proving to be a headache. Might have to make it in two parts and join them.
_________________
No! 4, 2 - 2, 4. |
|
| Back to top |
|
|
|
|
|
|
|
|
|
|
|
| Author |
Message |
Photech
Community Member
Joined: 05 May 2009
Posts: 207
Location: Australia
|
| Posted: Sun Jun 14, 2009 7:49 pm Post subject: knobs |
|
|
Hi All,
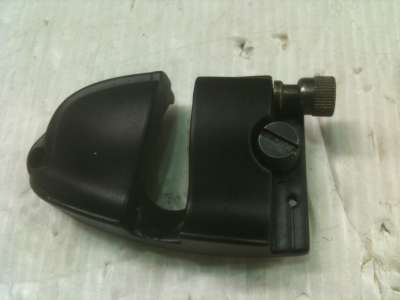
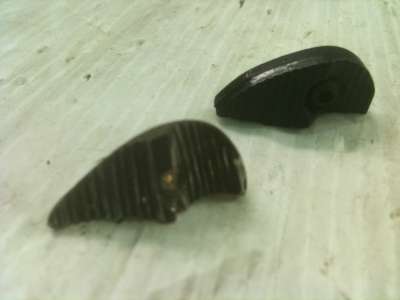
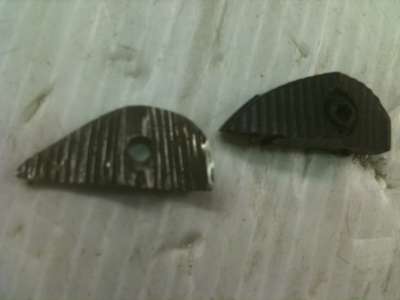
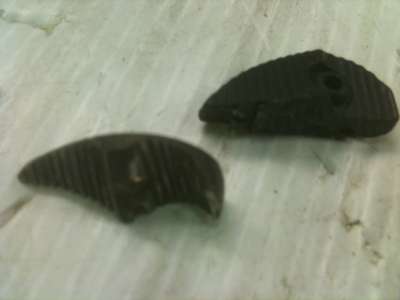
I can't seem to find the correct knobs for the side cover so i have narrowed down 2 for selection.
Please feel free to comment.
Now back to the alloy dust.
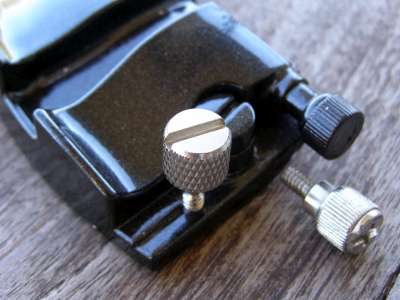
I will be modding the "binding post" Knob head to remove the Phillips notch.
The other knob has a definate firearms/military style to it which I like.
Photech
_________________
No! 4, 2 - 2, 4.
Last edited by Photech on Sun Jun 14, 2009 8:09 pm; edited 2 times in total |
|
| Back to top |
|
|
|
|
|
|
|
|
|
|
|
| Author |
Message |
joberg
Community Member
.jpg)
Joined: 06 Oct 2008
Posts: 9447
|
| Posted: Mon Jun 15, 2009 6:41 am Post subject: |
|
|
I'll go with the "Phillips" knob meself...  |
|
| Back to top |
|
|
|
|
|
|
|
|
|
|
|
| Author |
Message |
andy
Community Guide

Joined: 01 Nov 2006
Posts: 6237
Location: Rochester, NY
|
| Posted: Mon Jun 15, 2009 11:45 am Post subject: |
|
|
I think those will work great. They look pretty cool as is.
Andy |
|
| Back to top |
|
|
|
|
|
|
|
|
|
|
|
| Author |
Message |
Photech
Community Member
Joined: 05 May 2009
Posts: 207
Location: Australia
|
| Posted: Tue May 25, 2010 7:24 pm Post subject: |
|
|
OMG it's been nearly a year since the last post on this one so I better update the build progress.
2 wee people seem to take up all my time 
Sorry about the quality of pictures using an iphone in bad light.
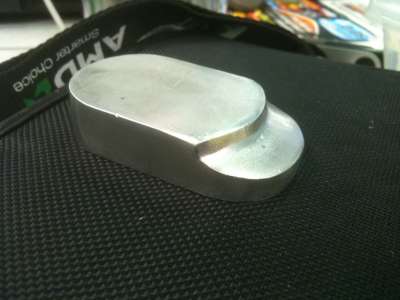
unfinished alu butt
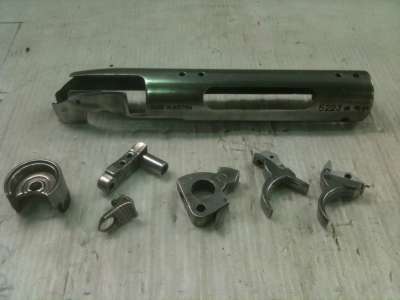
Polished metal parts, triggers now grooved.
Blued/ blackend metal parts. Picture does not do justice to the finish on these parts. Don Parker Barrel and bolt(not shown)Thx Don.
Plastic parts depainted, sanded, repainted. Blued metal front post.
not much left of the original Offworld
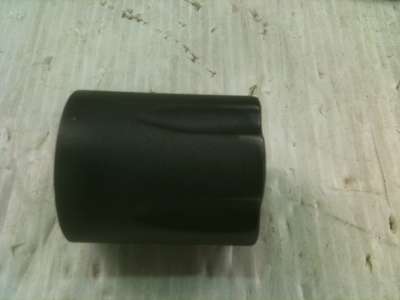
Repainted cylinder still plastic looking for cheap real one.
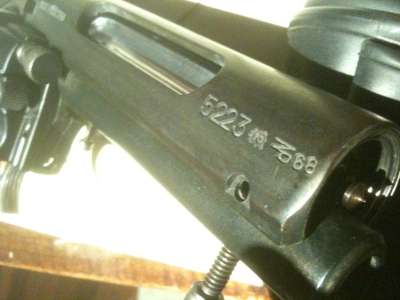
Side cover with cut out blued real e88 "other knob" and custom slot head screw.
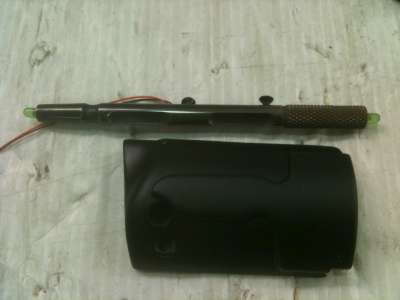
Other cover with mspaw sight rod. Thx mspaw.
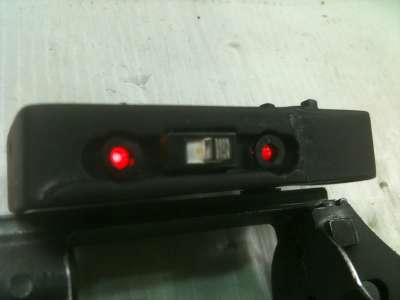
Custom 5 LED ammo clip with grooved led clips and painted switch.
More to come from the wee hours of late night prop production.
"Props Made while the family sleeps...."
_________________
No! 4, 2 - 2, 4. |
|
| Back to top |
|
|
|
|
|
|
|
|
|
|
|
| Author |
Message |
Staar
Community Member

Joined: 04 Feb 2008
Posts: 757
Location: AUSTRALIA
|
| Posted: Tue May 25, 2010 8:21 pm Post subject: |
|
|
Hey Photech you are doing a stirling job here mate!
I guess by the time you are done we will see the ultimate version of this blaster… ! 
Cheers for sharing and looking forward to seeing how you go from here.
Regards
MARK
_________________
 |
|
| Back to top |
|
|
|
|
|
|
|
|
|
|
|
| Author |
Message |
joberg
Community Member
Joined: 06 Oct 2008
Posts: 9447
|
| Posted: Wed May 26, 2010 6:22 am Post subject: |
|
|
Yes, yes, yes and yes! Great job Photec  ; we can see the effort and the love you're putting on that baby. ; we can see the effort and the love you're putting on that baby. |
|
| Back to top |
|
|
|
|
|
|
|
|
|
|
|
| Author |
Message |
Photech
Community Member
Joined: 05 May 2009
Posts: 207
Location: Australia
|
| Posted: Thu May 27, 2010 6:29 pm Post subject: |
|
|
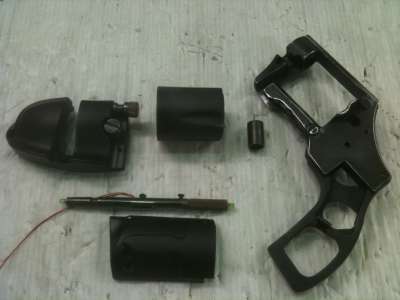
Thank you for the kind words
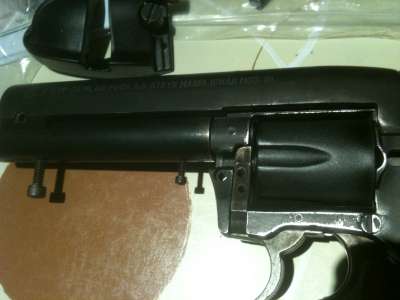
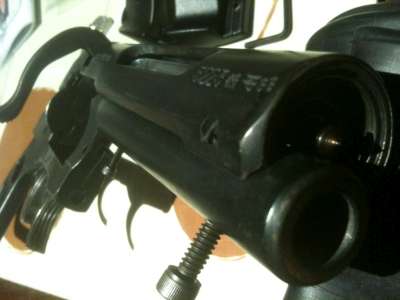
Some more pics of the test assemble, it has a nice weight to it already.
I am looking forward to holding it again.
Don, your barrel and bolt are things of beauty and a must for offworld rebuilds.
You can see the finish better in these shots.
_________________
No! 4, 2 - 2, 4. |
|
| Back to top |
|
|
|
|
|
|
|
|
|
|
|
| Author |
Message |
DonParker
Community Member
Joined: 09 Jan 2009
Posts: 250
|
| Posted: Thu May 27, 2010 7:56 pm Post subject: |
|
|
Your gun is coming along nicely. I had read this thread a while
back and then kind of forgot about it. It's great to see what
you've done. It should be a real looker.
Don |
|
| Back to top |
|
|
|
|
|
|
|
|
|
|
|
| Author |
Message |
joberg
Community Member
Joined: 06 Oct 2008
Posts: 9447
|
| Posted: Fri May 28, 2010 6:25 am Post subject: |
|
|
| It's getting better by the post It's true that Don has done a great job on those parts: it makes the gun way sharper! |
|
| Back to top |
|
|
|
|
|
|
|
|
|
|
|
| Author |
Message |
Hasenbrau
Community Member

Joined: 02 Dec 2008
Posts: 109
Location: SoCal
|
| Posted: Mon May 31, 2010 2:05 pm Post subject: |
|
|
| Wow! You'd never know it was an Offworld now just to look at it. I love the progress pics - super cool. |
|
| Back to top |
|
|
|
|
|
|
|
|
|
|
|
| Author |
Message |
Photech
Community Member
Joined: 05 May 2009
Posts: 207
Location: Australia
|
| Posted: Thu Jun 03, 2010 12:50 am Post subject: |
|
|
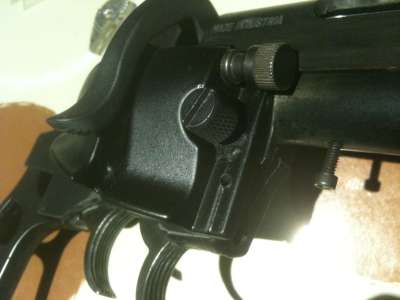
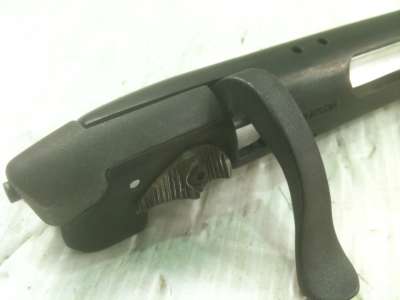
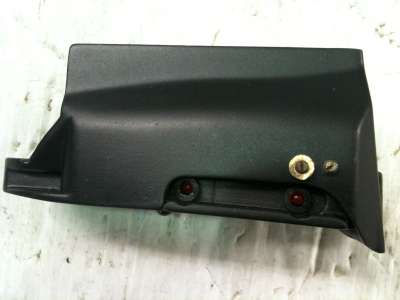
Just finished off the receiver safety switch.
Punctated sent me a pewter copy of the original offworld one.
after alot of sanding and file work it turned out pretty good
for my level of mod-jitsu.
Old plastic offworld at rear.
Hard to get a good shot.
Thanks Thomas.
_________________
No! 4, 2 - 2, 4. |
|
| Back to top |
|
|
|
|
|
|
|
|
|
|
|
| Author |
Message |
andy
Community Guide
Joined: 01 Nov 2006
Posts: 6237
Location: Rochester, NY
|
| Posted: Thu Jun 03, 2010 12:54 am Post subject: |
|
|
This is a part that someone needs to make metal replacement versions of in bulk. I could use a copy of the real Steyr for a few different guns.
Andy |
|
| Back to top |
|
|
|
|
|
|
|
|
|
|
|
| Author |
Message |
punctated
Community Member

Joined: 30 Jul 2009
Posts: 75
Location: Enon, Ohio
|
| Posted: Thu Jun 03, 2010 2:03 pm Post subject: |
|
|
| Looking good |
|
| Back to top |
|
|
|
|
|
|
|
|
|
|
|
| Author |
Message |
Photech
Community Member
Joined: 05 May 2009
Posts: 207
Location: Australia
|
| Posted: Thu Jun 03, 2010 6:47 pm Post subject: |
|
|
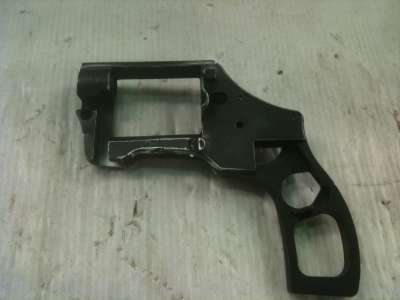
Now attached to the receiver, just gripframe and butt to go.
Then I need to workout were all the screws go 

_________________
No! 4, 2 - 2, 4. |
|
| Back to top |
|
|
|
|
|
|
|
|
|
|
|
| Author |
Message |
joberg
Community Member
Joined: 06 Oct 2008
Posts: 9447
|
| Posted: Fri Jun 04, 2010 6:26 am Post subject: |
|
|
| SNAP! Love it; good work indeed...I think I speak for everybody here when I say that we're all eager to see that baby completed |
|
| Back to top |
|
|
|
|
|
|
|
|
|
|
|
| Author |
Message |
DonParker
Community Member
Joined: 09 Jan 2009
Posts: 250
|
| Posted: Fri Jun 04, 2010 9:15 am Post subject: |
|
|
Photech, just remember that the 2 small screws that attach the
barrel to the side of the steyr receiver are kind of difficult to
start. Once you get one started start the other and then tighten
them down alternately. They should be alright. Lookin good
though and I can't wait to see the finished product.
Don |
|
| Back to top |
|
|
|
|
|
|
|
|
|
|
|
| Author |
Message |
Photech
Community Member
Joined: 05 May 2009
Posts: 207
Location: Australia
|
| Posted: Tue Sep 07, 2010 8:18 pm Post subject: |
|
|
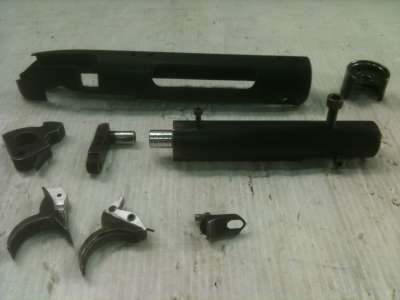
Yet another update, getting close to completion now.
Just a final paint and detail.
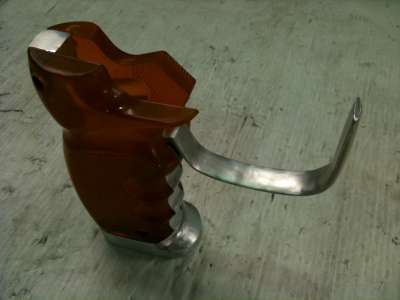
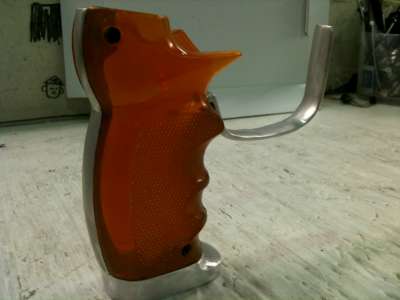
Custom alloy inner grip handle, trigger guard and butt plate.
Not as prefect as the Don parker items but good enough for this "used build"
Custom ammo clip with brass washer on grub screw(little big have to file down)
BTW thx for the screws Rich.
_________________
No! 4, 2 - 2, 4. |
|
| Back to top |
|
|
|
|
|
|
|
|
|
|
|
|
You cannot post new topics in this forum
You cannot reply to topics in this forum
You cannot edit your posts in this forum
You cannot delete your posts in this forum
You cannot vote in polls in this forum
|
|
|
|
|
|
|
|


