 |
 |
|
 |
|
| Author |
Message |
DonParker
Community Member
Joined: 09 Jan 2009
Posts: 250
|
 Posted: Fri Dec 04, 2009 2:17 pm Post subject: My home machined blaster(So far) Posted: Fri Dec 04, 2009 2:17 pm Post subject: My home machined blaster(So far) |
 |
|
Hello guys, I've been a member for a while now but have never posted.A while back I purchased an Offworld blaster and started to upgrade it but I've always wanted to have one made of metal,being a cnc and manual machinist for 12 years....and layed off I thought why not give it a try.I've never posted photos before so hopefully I'm doing this the way I should.

These are some of the first parts I've made with my bench top 7x10 lathe and milling machine.

Here is a picture of the pistol with my Offworld that I'm upgrading. The Offworld has an alum. outer grip frame, butt plate,bolt. I also used two LED's and piped fiber optics through the gun just to see if it would work.It does.
Just starting work on the side plates.
If you have Questions or suggestions shoot away I have plenty of time.
Don |
|
| Back to top |
|
|
|
|
 |
|
 |
|
|
|
|
| Author |
Message |
punctated
Community Member

Joined: 30 Jul 2009
Posts: 75
Location: Enon, Ohio
|
| Posted: Fri Dec 04, 2009 3:30 pm Post subject: |
|
|
Wow looks like a great start. Keep us posted.
Also there seems to be a market for replacement parts to upgrade existing blasters I for one would like to see a few more upgrades for the OffWorld.
Thomas |
|
| Back to top |
|
|
|
|
|
|
|
|
|
|
|
| Author |
Message |
DonParker
Community Member
Joined: 09 Jan 2009
Posts: 250
|
| Posted: Fri Dec 04, 2009 3:56 pm Post subject: |
|
|
| Thanks Punctated, I like the fiber optics because you only need one light source for multiple fibers. I just used red LEDS for the light source. |
|
| Back to top |
|
|
|
|
|
|
|
|
|
|
|
| Author |
Message |
phase pistol
Community Member
Joined: 04 Nov 2006
Posts: 1147
|
| Posted: Fri Dec 04, 2009 4:35 pm Post subject: |
|
|
Wow! That is some true dedication sir. My hat is off to you. Keep us posted on your progress!
k |
|
| Back to top |
|
|
|
|
|
|
|
|
|
|
|
| Author |
Message |
DonParker
Community Member
Joined: 09 Jan 2009
Posts: 250
|
| Posted: Fri Dec 04, 2009 4:50 pm Post subject: |
|
|
| Thanks Phase,its your pictures Im using for reference. |
|
| Back to top |
|
|
|
|
|
|
|
|
|
|
|
| Author |
Message |
Noeland
Community Guide
Joined: 24 Oct 2006
Posts: 1328
|
| Posted: Sat Dec 05, 2009 12:12 am Post subject: |
|
|
I added some image tags to your post so folks can see them without clicking the links.
NICE WORK!! I really enjoy seeing this kind of scratch building.
_________________
I don't have enough blasters! |
|
| Back to top |
|
|
|
|
|
|
|
|
|
|
|
| Author |
Message |
DonParker
Community Member
Joined: 09 Jan 2009
Posts: 250
|
| Posted: Sat Dec 05, 2009 12:28 am Post subject: |
|
|
Thanks for the tags Noeland,I wasnt sure how to do that. As you can see its very rough at the moment but half the fun is in making it in my opinion.Ill post more pics as work progresses.
Don |
|
| Back to top |
|
|
|
|
|
|
|
|
|
|
|
| Author |
Message |
andy
Community Guide

Joined: 01 Nov 2006
Posts: 6237
Location: Rochester, NY
|
| Posted: Sat Dec 05, 2009 1:47 am Post subject: |
|
|
Very Impressed. I can not wait to see more.
Andy |
|
| Back to top |
|
|
|
|
|
|
|
|
|
|
|
| Author |
Message |
joberg
Community Member
.jpg)
Joined: 06 Oct 2008
Posts: 9463
|
| Posted: Sat Dec 05, 2009 7:15 am Post subject: |
|
|
Good for a first try  As everybody can see, building a gun from scratch is not for the faint of heart...and I'm talking about resin. As everybody can see, building a gun from scratch is not for the faint of heart...and I'm talking about resin.
But when it comes to steel you got to have the necessary skills to pull it off. Keep up the good work! |
|
| Back to top |
|
|
|
|
|
|
|
|
|
|
|
| Author |
Message |
Gaff87
Community Member

Joined: 05 Oct 2008
Posts: 1727
Location: United Kingdom
|
| Posted: Sat Dec 05, 2009 9:10 am Post subject: |
|
|
| Stunning work! Really impressive. |
|
| Back to top |
|
|
|
|
|
|
|
|
|
|
|
| Author |
Message |
DonParker
Community Member
Joined: 09 Jan 2009
Posts: 250
|
| Posted: Sat Dec 05, 2009 10:01 am Post subject: |
|
|
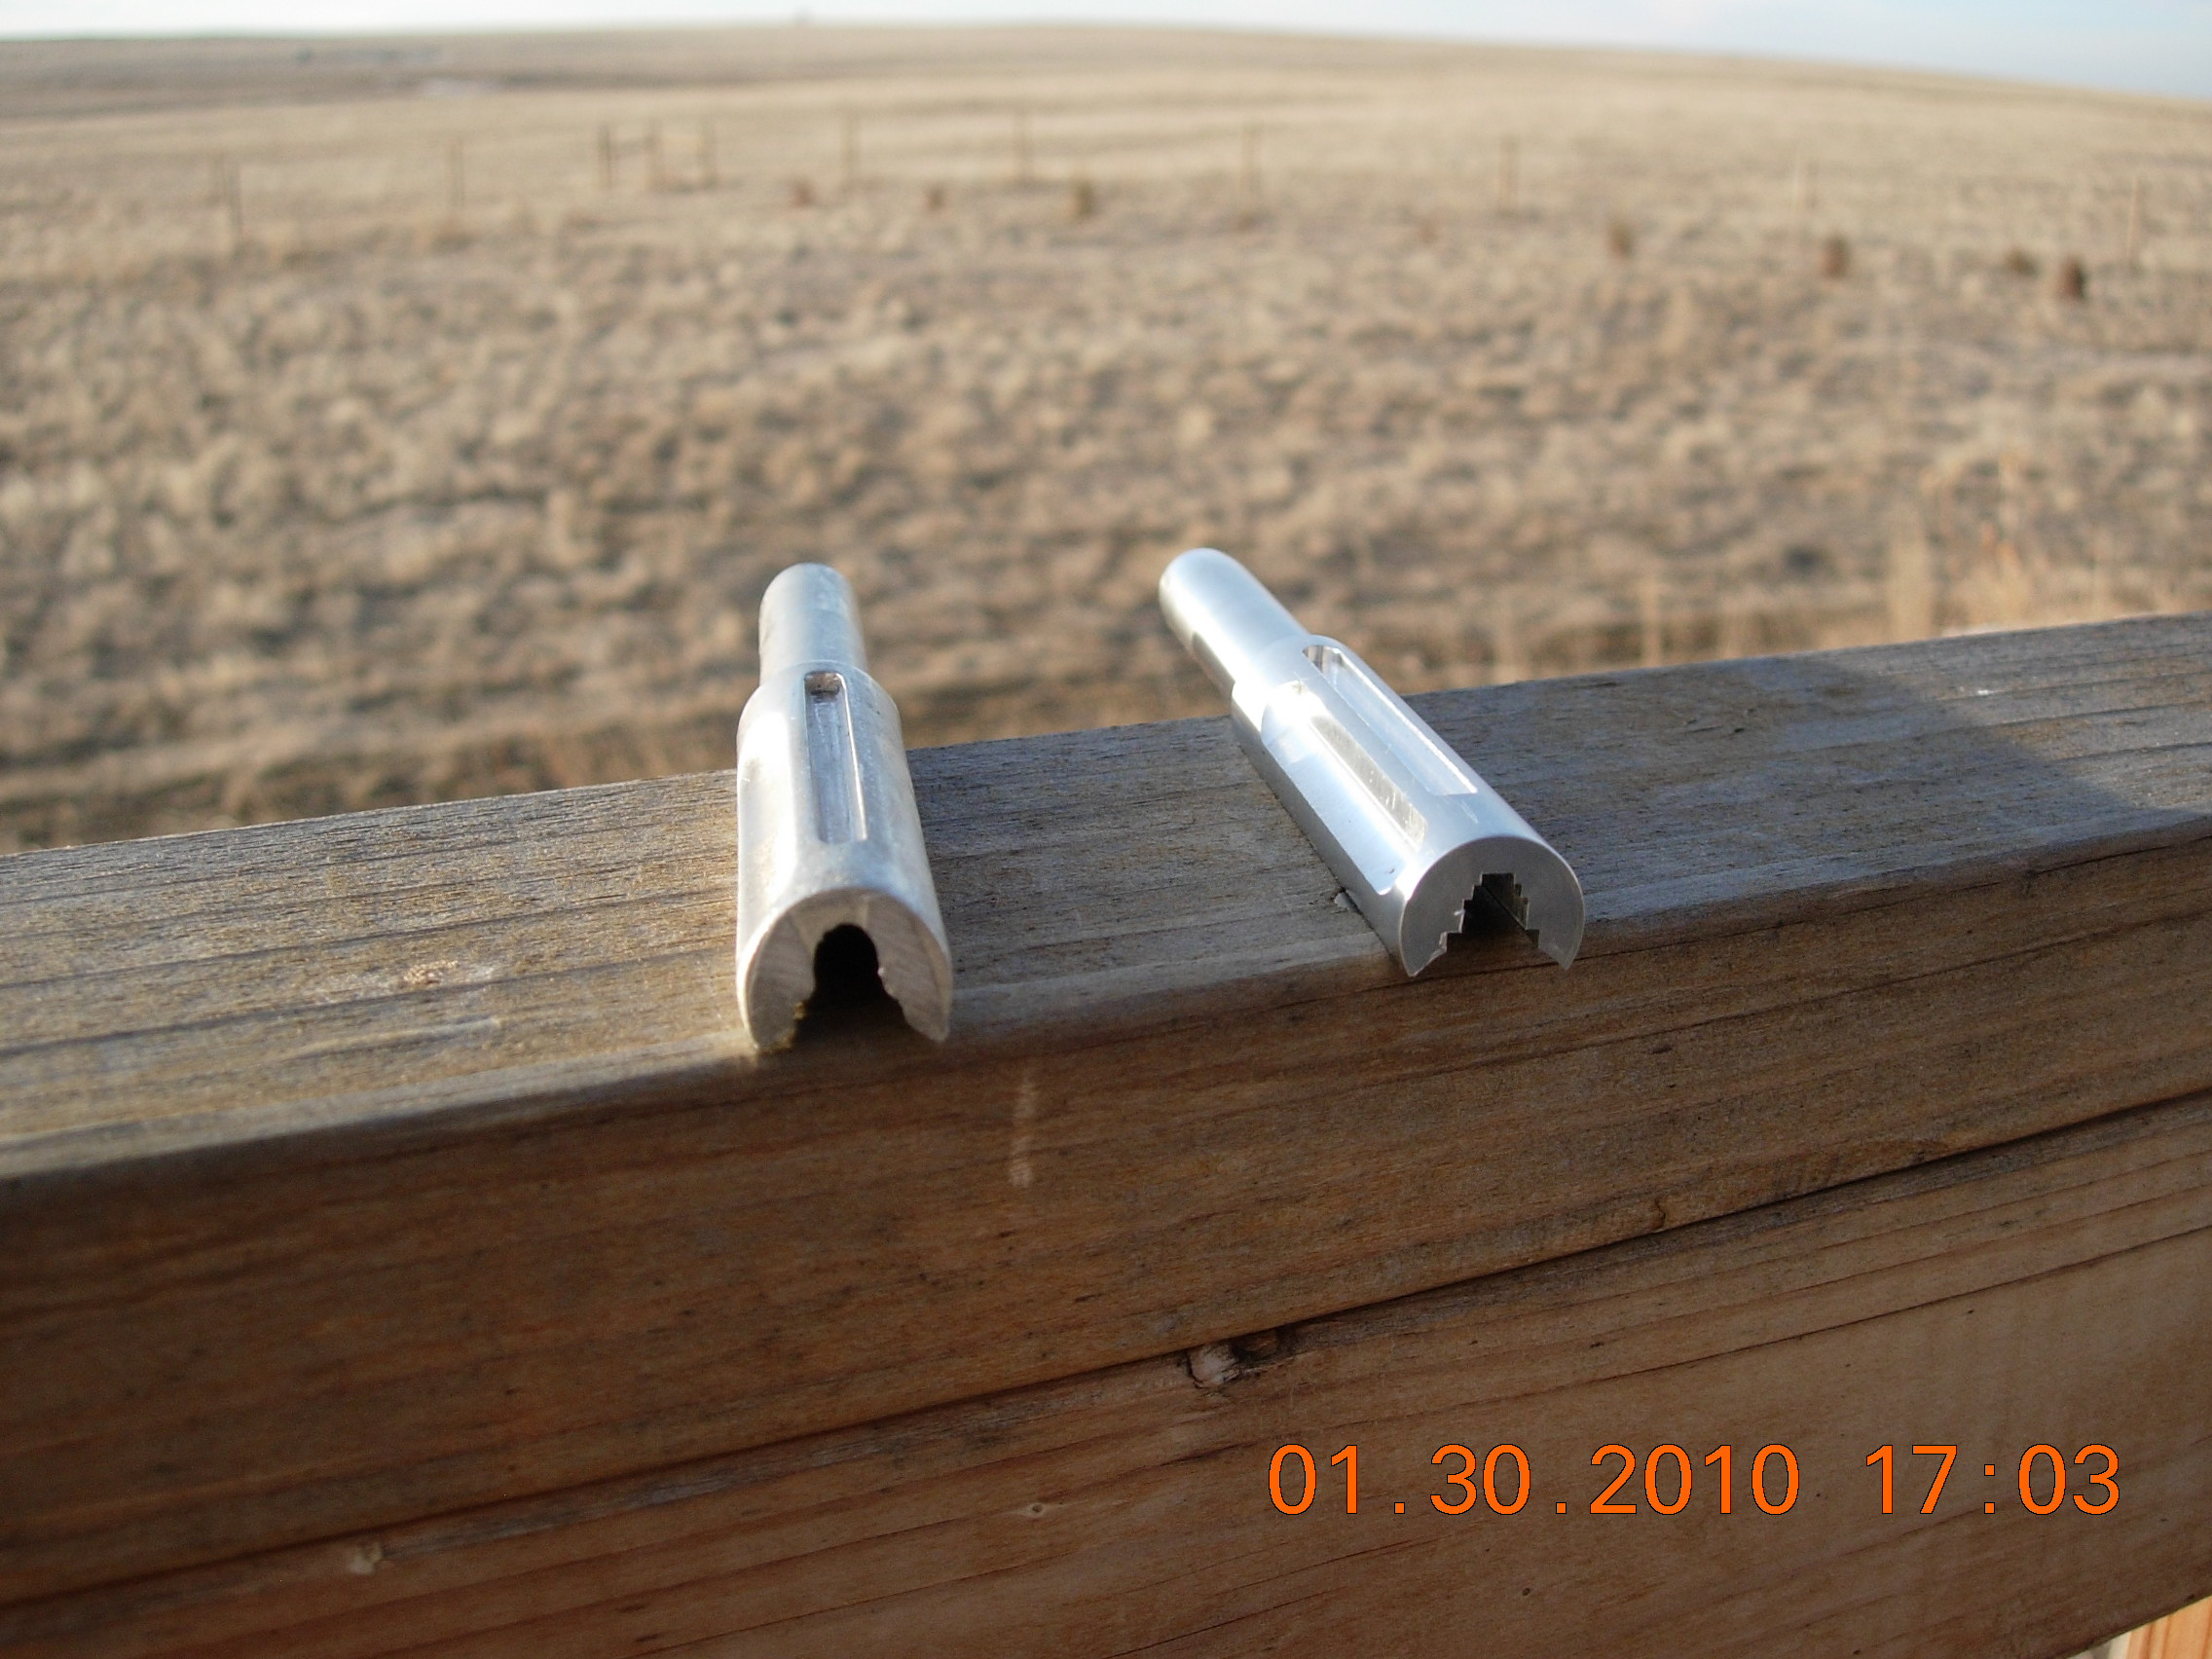
Thanks for the replies guys.Most if this gun is aluminum so far, but its funny I expected it to be heavier. The frame and cylinder dont weigh that much but the more I add the heavier it gets and it is rock solid,no creaking and no rattling.The reciever will be remade, the one that is on it is just one that I fooled around with a while back.Also the gun is screwed together so it will field strip to make it easier for finishing.Most of the screws Im using are 6-32 and 4-40 cap and button head screws.As of now Im working on the side plates. The left side is made of aluminum and the right is acrylic, I make pens as well so I have some acrylic blocks that I use, very easy to machine.One thing Ive noticed in the worldcon is some breaking through into the plates into the cylinder area, this doesnt suprise me because Ive came awfully close several times myself.Anyway its all in good fun.
Don |
|
| Back to top |
|
|
|
|
|
|
|
|
|
|
|
| Author |
Message |
sethb6025
Community Member

Joined: 22 Dec 2006
Posts: 248
Location: York, PA US
|
| Posted: Sat Dec 05, 2009 12:59 pm Post subject: |
|
|
Impressive work Don, that's a heck of a scratch-build!
_________________
Wait; I'm having one of those things! You know; a headache with pictures? |
|
| Back to top |
|
|
|
|
|
|
|
|
|
|
|
| Author |
Message |
Staar
Community Member

Joined: 04 Feb 2008
Posts: 757
Location: AUSTRALIA
|
| Posted: Sat Dec 05, 2009 10:10 pm Post subject: |
|
|
| sethb6025 wrote: | | Impressive work Don, that's a heck of a scratch-build! |
I have to agree, that is one brilliant and challenging piece of work. I will follow your developments with great interest!
Good luck..
_________________
 |
|
| Back to top |
|
|
|
|
|
|
|
|
|
|
|
| Author |
Message |
Major
Community Member
Joined: 13 Nov 2009
Posts: 26
|
| Posted: Mon Dec 07, 2009 5:10 pm Post subject: |
|
|
That looks really nice......
Job well done.
Robert |
|
| Back to top |
|
|
|
|
|
|
|
|
|
|
|
| Author |
Message |
DonParker
Community Member
Joined: 09 Jan 2009
Posts: 250
|
| Posted: Mon Dec 07, 2009 7:13 pm Post subject: |
|
|
Thanks for the kind words guys.There's one thing Ive been
thinking about as Ive been making the right cylinder cover.
What if the knobs could be thought of as windage and elevation
knobs for the sight rod on the left side.I know its just a movie
but I figured why have a bunch of knobs that dont do anything
and since the woldcon has a scope knob on it why not have them
for some kind of sight adjustment?By the way how big is that
scope knob?I made mine .470" in diameter and it looks to big.I
worked for Burris sports optics making rifle scopes for 12 years
and I dont think Ive ever made an adjustment knob that small.
Don |
|
| Back to top |
|
|
|
|
|
|
|
|
|
|
|
| Author |
Message |
DonParker
Community Member
Joined: 09 Jan 2009
Posts: 250
|
|
| Back to top |
|
|
|
|
|
|
|
|
|
|
|
| Author |
Message |
DonParker
Community Member
Joined: 09 Jan 2009
Posts: 250
|
|
| Back to top |
|
|
|
|
|
|
|
|
|
|
|
| Author |
Message |
DonParker
Community Member
Joined: 09 Jan 2009
Posts: 250
|
|
| Back to top |
|
|
|
|
|
|
|
|
|
|
|
| Author |
Message |
Nexus6
Community Member

Joined: 15 May 2006
Posts: 473
Location: Off-World Colonies
|
| Posted: Tue Dec 08, 2009 7:44 pm Post subject: |
|
|
| DonParker wrote: | Here are a few more pics.I may leave the knobs unpainted.

.jpg) |
Here you go, brah!
_________________
 |
|
| Back to top |
|
|
|
|
|
|
|
|
|
|
|
| Author |
Message |
joberg
Community Member
Joined: 06 Oct 2008
Posts: 9463
|
| Posted: Wed Dec 09, 2009 7:26 am Post subject: |
|
|
| Good so far; since it's your first, I'm sure it's a learning experience (since you're not a gunsmith). I hope that you'll do other pieces in the future to perfect your techniques. Keep up the good work. |
|
| Back to top |
|
|
|
|
|
|
|
|
|
|
|
|
You cannot post new topics in this forum
You cannot reply to topics in this forum
You cannot edit your posts in this forum
You cannot delete your posts in this forum
You cannot vote in polls in this forum
|
|
|
|
|
|
|
|


