|
 |
|
 |
|
| Author |
Message |
Dann
Community Member
Joined: 15 Apr 2008
Posts: 44
|
 Posted: Sun May 18, 2008 2:04 am Post subject: Rebuilt My Sidkit PKD Posted: Sun May 18, 2008 2:04 am Post subject: Rebuilt My Sidkit PKD |
 |
|
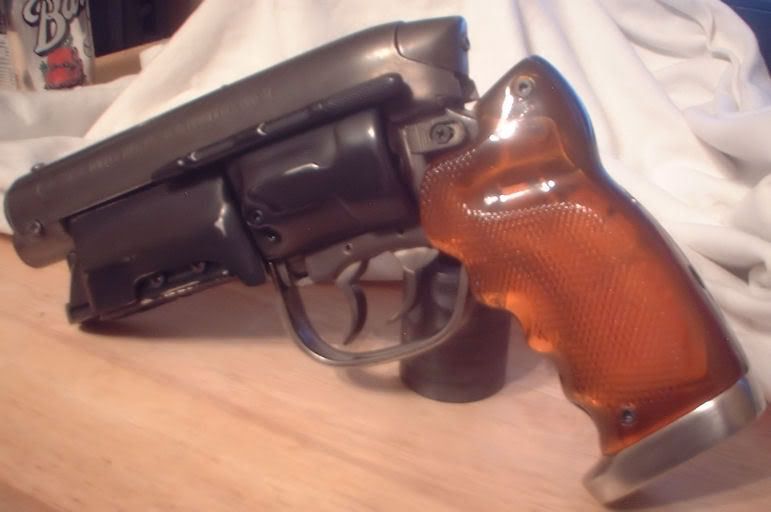
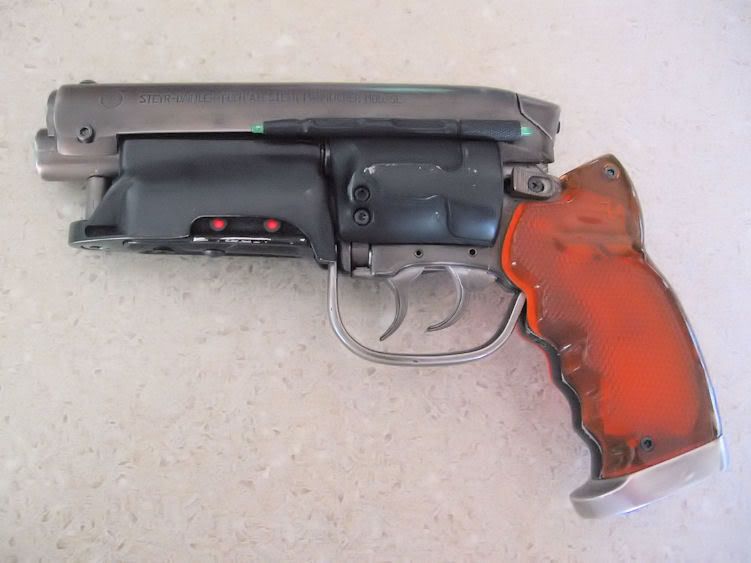
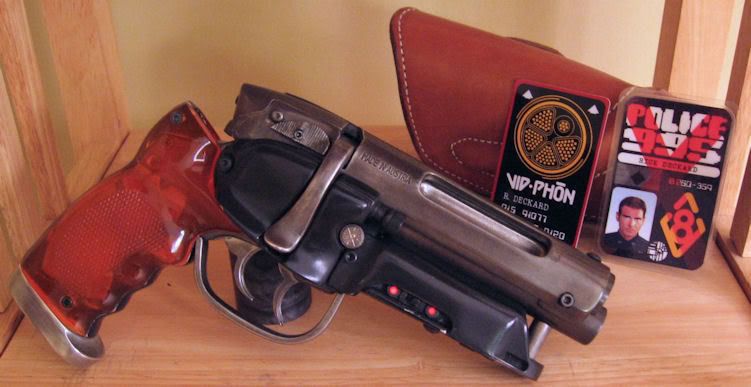
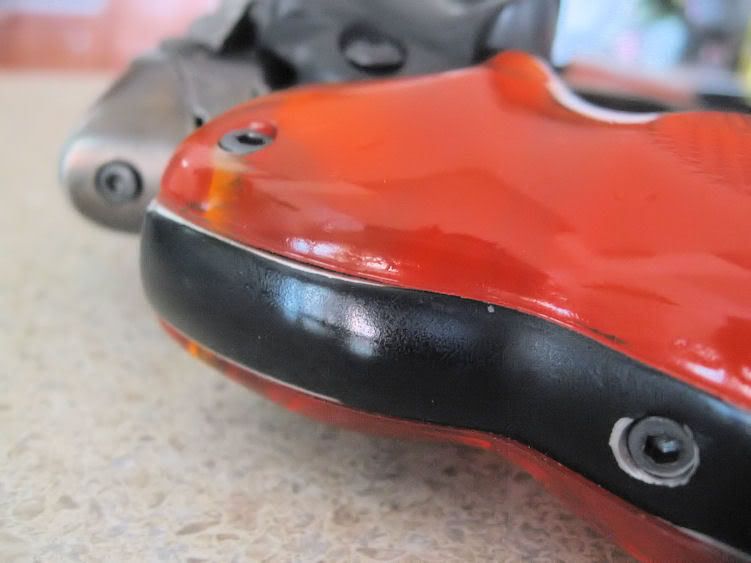
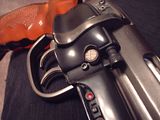
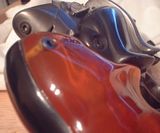
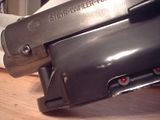
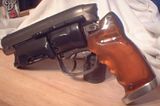
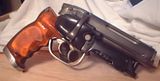
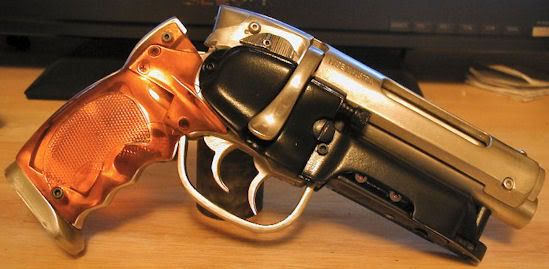
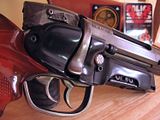
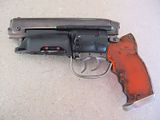
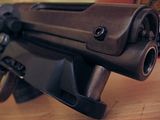
So I made a few mods to my Sidkit, got the new Worldcon grips, weaver knob, dremeled out the side cover so you can see the cylinder.
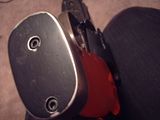
I also painted the grip frame and the bottom of the butt plate.
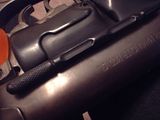
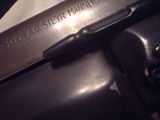
Also used some perma blue on the bare metal parts. It's a tad darker in person.
Just thought I'd show off what I did all day.
These are thumbnails. EDIT: Tried to take a few more pictures.
Last edited by Dann on Sun May 18, 2008 12:53 pm; edited 1 time in total |
|
| Back to top |
|
|
|
|
 |
|
 |
|
|
|
|
| Author |
Message |
BeastMaster
Community Member

Joined: 19 Jul 2007
Posts: 994
Location: UK
|
| Posted: Sun May 18, 2008 6:27 am Post subject: |
|
|
WOW!  Thats the best build up I've seen so far!! Thats the best build up I've seen so far!!
This is the old sid kit? Where did you get that buttplate and WC grips from? I assume you had to get a whole new grip frame aswell? |
|
| Back to top |
|
|
|
|
|
|
|
|
|
|
|
| Author |
Message |
Anson James
Community Member

Joined: 31 Oct 2006
Posts: 168
Location: Ireland.
|
| Posted: Sun May 18, 2008 7:33 am Post subject: |
|
|
Was there a particular Perma blue product you used?
Could you just give us a brief outline on how you applied it?
I used graphite over matt black paint for the gunmetal parts but it wears off very easily - your finish looks superb!
Definitely the best sidkit I've seen also...
Last edited by Anson James on Sun May 18, 2008 7:43 am; edited 1 time in total |
|
| Back to top |
|
|
|
|
|
|
|
|
|
|
|
| Author |
Message |
Howard
Community Member
Joined: 13 Apr 2008
Posts: 11
|
| Posted: Sun May 18, 2008 7:42 am Post subject: |
|
|
Now that looks fantastic.
Superb work indeed. |
|
| Back to top |
|
|
|
|
|
|
|
|
|
|
|
| Author |
Message |
Two-Guns Crowley
Community Member
Joined: 29 Dec 2007
Posts: 21
Location: Tucson, AZ
|
| Posted: Sun May 18, 2008 11:03 am Post subject: |
|
|
| Wonderful job on that, bravo. |
|
| Back to top |
|
|
|
|
|
|
|
|
|
|
|
| Author |
Message |
Dann
Community Member
Joined: 15 Apr 2008
Posts: 44
|
| Posted: Sun May 18, 2008 11:19 am Post subject: |
|
|
Wow, thanks a lot guys! I dunno if it's the best buildup so far, some guys go so far as to replace all the cast hex screws with real ones and have the Steyr firing pin move. I'd really like to do that as well. I also need to add the green LEDs and the two threaded greeblies on the magwell.
As far as the blue goes, one of our own members lear60man turned me on to it. I just rubbed the parts with steel wool and washed them in soap and water. I then put some of the blue on a sponge and wiped it on lengthwise. Let it sit for a minute and rinse with cold water. I applied it a couple times to get it a bit darker.
It's a fairly durable finish, steel wool will make short work of it, though. The bottle says to lightly polish with steel wool, then coat with gun oil, I lightly polished the butt plate since it's a lighter color than everything else. Didn't try any gun oil, that may give it an even more real look, might be worth lookin' into.
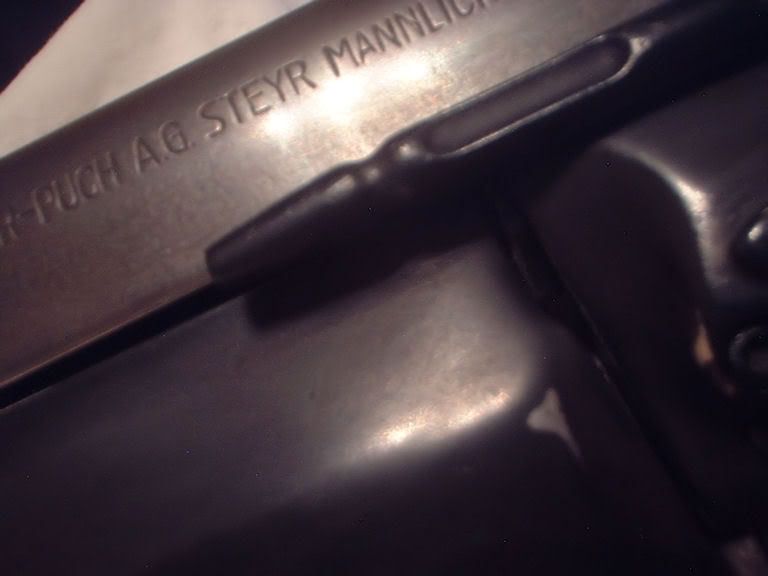
Oh yeah, it IS the old Sidkit, just with the updated grip section. He's been selling them on eBay and they include the bulldog and outer frame, buttplate (I love typing that), and Weaver knob. |
|
| Back to top |
|
|
|
|
|
|
|
|
|
|
|
| Author |
Message |
SKIN JOB 66
Community Member

Joined: 16 Jan 2008
Posts: 2724
Location: FRANCE
|
| Posted: Mon May 19, 2008 2:17 am Post subject: |
|
|
Very impressive ! BRAVO !!!
Now that I've seen this, I'm going to hide my regular version of this kit in a closet, it just doesn't compete !

_________________
THE FUTURE IS A THING OF THE PAST |
|
| Back to top |
|
|
|
|
|
|
|
|
|
|
|
| Author |
Message |
jfuste
Community Member

Joined: 31 Dec 2007
Posts: 739
Location: Barcelona, Spain
|
| Posted: Mon May 19, 2008 3:59 am Post subject: |
|
|
Dann, I hope your enhancement is worth to be included in my Fan Book! No room for all, I guess, but I'll work to try! (96 pages are very very constrain...).
Books aside, this process could be explained word by word (or so)? I'll learn how to paint my blank kits! 
_________________
 |
|
| Back to top |
|
|
|
|
|
|
|
|
|
|
|
| Author |
Message |
BeastMaster
Community Member
Joined: 19 Jul 2007
Posts: 994
Location: UK
|
| Posted: Mon May 19, 2008 4:34 am Post subject: |
|
|
What was the make of blue you used? The finish is way more superior than any metal finish on a kit I've seen. maybe you should give Rich some tips as his finish on his WC blasters still looks like raw metal (no offence Rich) 
Does sid offer these upgrades regularly? or was this just a one off auction? How much did these parts go for if you dont mind me asking? And is that a new trigger guard? |
|
| Back to top |
|
|
|
|
|
|
|
|
|
|
|
| Author |
Message |
amish
Community Guide
Joined: 11 Apr 2006
Posts: 1433
Location: Outside Philadelphia
|
|
| Back to top |
|
|
|
|
|
|
|
|
|
|
|
| Author |
Message |
spinner44.com
Community Member

Joined: 18 Apr 2006
Posts: 593
Location: Phoenix, AZ
|
| Posted: Mon May 19, 2008 2:19 pm Post subject: |
|
|
Dann,
That looks incredible! Extremely nice work on the subtle finish.
-John |
|
| Back to top |
|
|
|
|
|
|
|
|
|
|
|
| Author |
Message |
Dann
Community Member
Joined: 15 Apr 2008
Posts: 44
|
| Posted: Mon May 19, 2008 5:00 pm Post subject: |
|
|
Thanks again you guys.
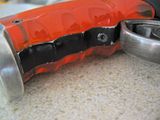
Here's what it looked like BEFORE.
Here's what it looks like now. The flash really takes away from the darkness of the metal, it's hard for me to photograph.
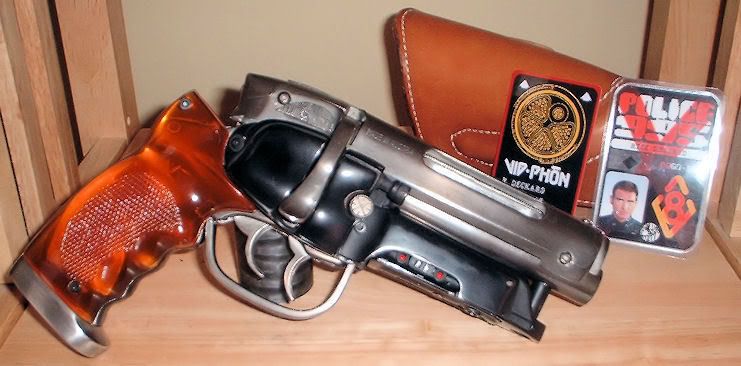
The trigger guard is the same, it's the original Sidkit, only cut down and re-drilled.
I don't know if Siderio is still having the new grips sold on eBay or not, maybe he can chime in, but they were around $100 shipped and they included the Weaver knob. There may be more info in his Worldcon blaster thread. They are quite an improvement, the old ones were gorgeous, just not as accurate as these.
For the blue, it's Birchwood Casey Perma Blue. I got it at Wal-Mart. All I did to prep the metal parts was sand them (filed a few areas) with 150, 220, 320, 400, 800, 1000 and steel wool.
Then I washed the parts with dish soap, dried them off and applied the blue with a sponge.
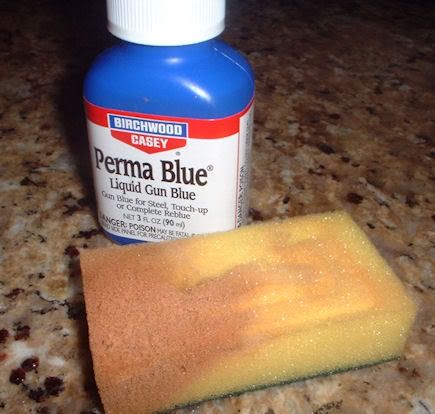
I let that sit for a minute or two, rinsed the parts with cold water and dried them off. I think I repeated that process two or three times for some of the parts.
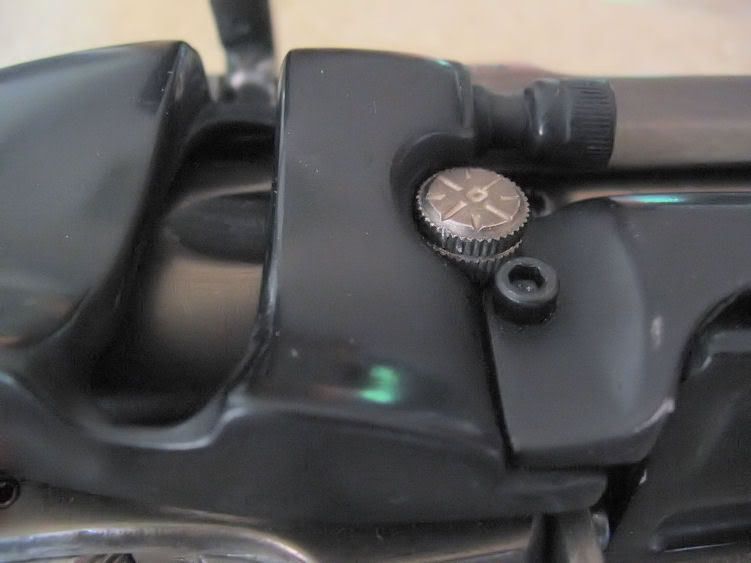
In rebuilding it, I just mean that I took the whole kit apart, repainted it (still not totally happy with my paintjob, may have to try one more time) ground out the large flathead screw and drilled and tapped the frame for the Weaver knob, dremeled out under the bolt lever, did all the other finishing and slapped it back together. I still wish it was a little more solid. These kits can be a bit rattly.
I'd be honored to have it featured in the fan book, but I don't know how to take very good pictures. I may be able to borrow a slightly better camera, though.
I may end up dismantling it again, because aside from taking one more stab at the repaint, I want to replace all the cast screws with real ones. Anybody have advice on this? (screw sizes, where to find them, etc.) I also want to make the firing pin (or whatever replaced it) retractable with the bolt.
Last edited by Dann on Mon May 19, 2008 7:27 pm; edited 10 times in total |
|
| Back to top |
|
|
|
|
|
|
|
|
|
|
|
| Author |
Message |
4yearlifespan
Community Member

Joined: 25 Apr 2008
Posts: 81
Location: Toronto
|
| Posted: Mon May 19, 2008 6:33 pm Post subject: |
|
|
wow - what a difference - excellent work  - love the way the cylinder is exposed. Great Job Dann - love the way the cylinder is exposed. Great Job Dann |
|
| Back to top |
|
|
|
|
|
|
|
|
|
|
|
| Author |
Message |
darthsnikelfritz
Community Member
Joined: 08 Nov 2006
Posts: 49
|
| Posted: Mon May 19, 2008 9:41 pm Post subject: |
|
|
| Incredible finish. I like that you painted the bull dog bullet chamber...the concave section. It adds a nice touch to it. |
|
| Back to top |
|
|
|
|
|
|
|
|
|
|
|
| Author |
Message |
Dann
Community Member
Joined: 15 Apr 2008
Posts: 44
|
| Posted: Mon May 19, 2008 9:46 pm Post subject: |
|
|
Haha, thanks!
That actually wasn't planned. I originally painted the cylinder all black, and when I went back over it with the sandpaper in preparation for the blue my arm got tired trying to sand out those areas so I just left them.
It's cool that you noticed that! |
|
| Back to top |
|
|
|
|
|
|
|
|
|
|
|
| Author |
Message |
Anson James
Community Member
Joined: 31 Oct 2006
Posts: 168
Location: Ireland.
|
| Posted: Tue May 20, 2008 1:44 am Post subject: |
|
|
Top job Dann!
I'm stripping the barrel on mine so I can use the same technique - how hard wearing is it? |
|
| Back to top |
|
|
|
|
|
|
|
|
|
|
|
| Author |
Message |
Anson James
Community Member
Joined: 31 Oct 2006
Posts: 168
Location: Ireland.
|
| Posted: Tue May 20, 2008 1:47 am Post subject: |
|
|
| BeastMaster wrote: | What was the make of blue you used? The finish is way more superior than any metal finish on a kit I've seen. maybe you should give Rich some tips as his finish on his WC blasters still looks like raw metal (no offence Rich)
Does sid offer these upgrades regularly? or was this just a one off auction? How much did these parts go for if you dont mind me asking? And is that a new trigger guard? |
Sid's mate is regularly selling the upgrades on ebay for less than $100... |
|
| Back to top |
|
|
|
|
|
|
|
|
|
|
|
| Author |
Message |
BeastMaster
Community Member
Joined: 19 Jul 2007
Posts: 994
Location: UK
|
| Posted: Tue May 20, 2008 4:12 am Post subject: |
|
|
That technique for the blue is so simple yet extreemely effective!
Dan, is it possible to get a comparison photo of the old grips next to the new ones on the gun?
What are the main differences?
cheers |
|
| Back to top |
|
|
|
|
|
|
|
|
|
|
|
| Author |
Message |
Dann
Community Member
Joined: 15 Apr 2008
Posts: 44
|
| Posted: Thu May 22, 2008 11:31 pm Post subject: |
|
|
Beastmaster, the older Sidkit grips were just a little smaller. The buttplate was also a bit misshapen. You can see the old ones in the before pics above.
Anson, it's fairly durable, it won't wear off if you rub it. Take some steel wool or sandpaper to it and it'll come off. It can scratch, too, but like I said it IS fairly durable. You may be able to see some small scratches here and there in my new pics. And honestly, the stuff can be reapplied pretty easily if you're unhappy with it.
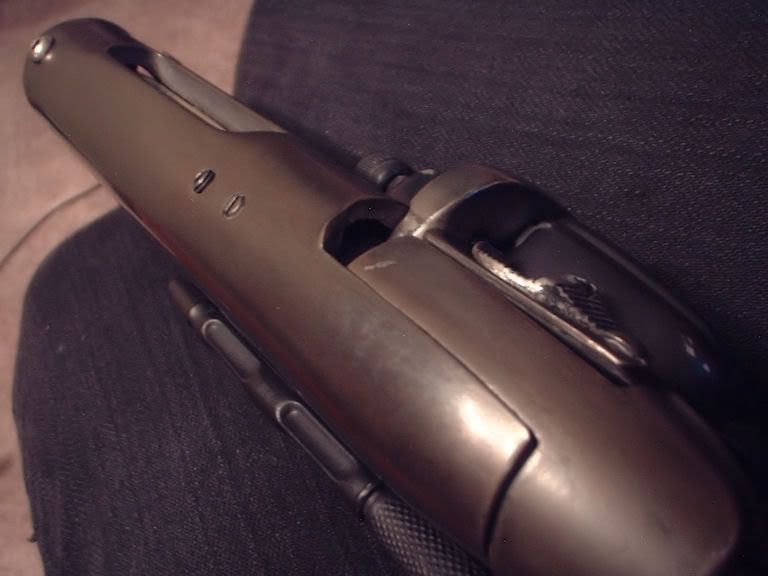
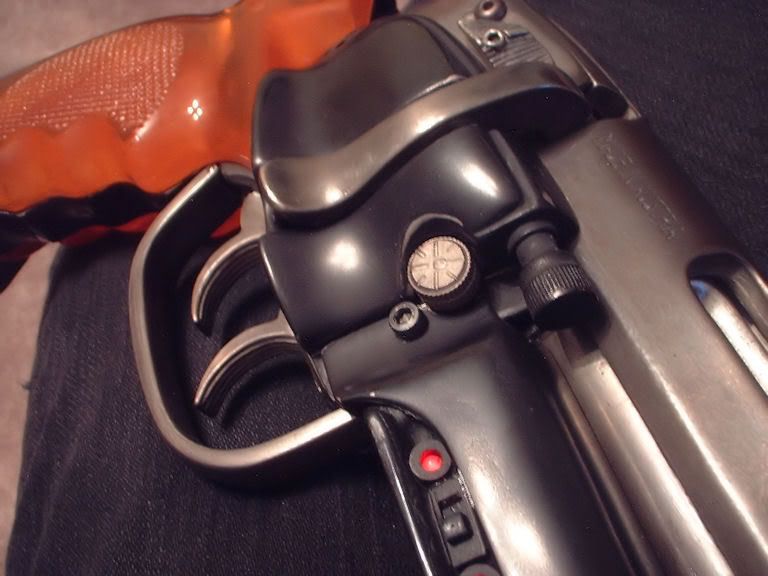
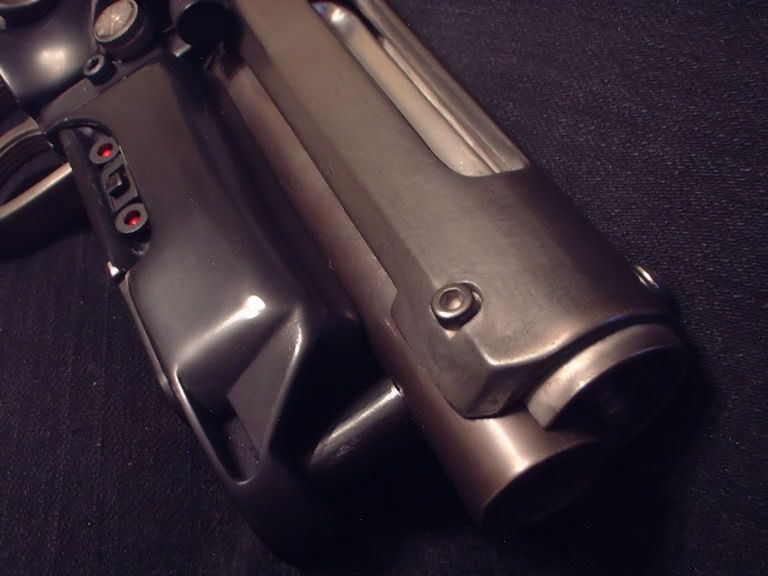
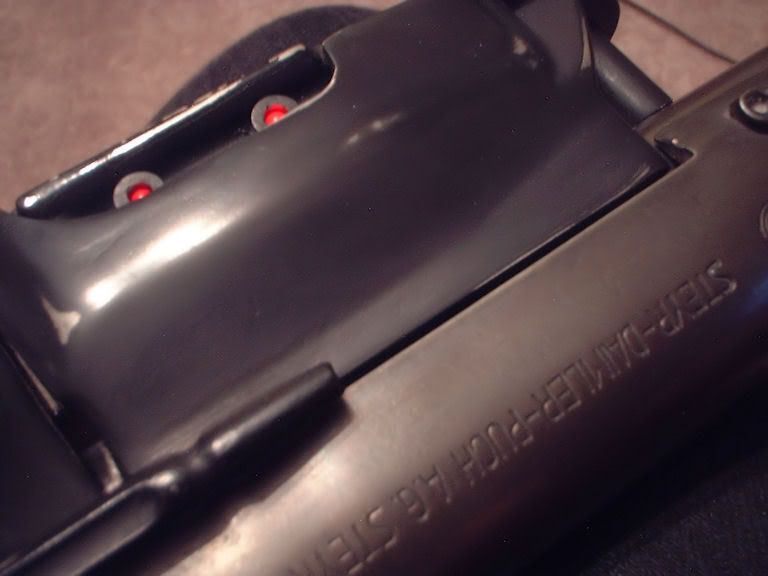
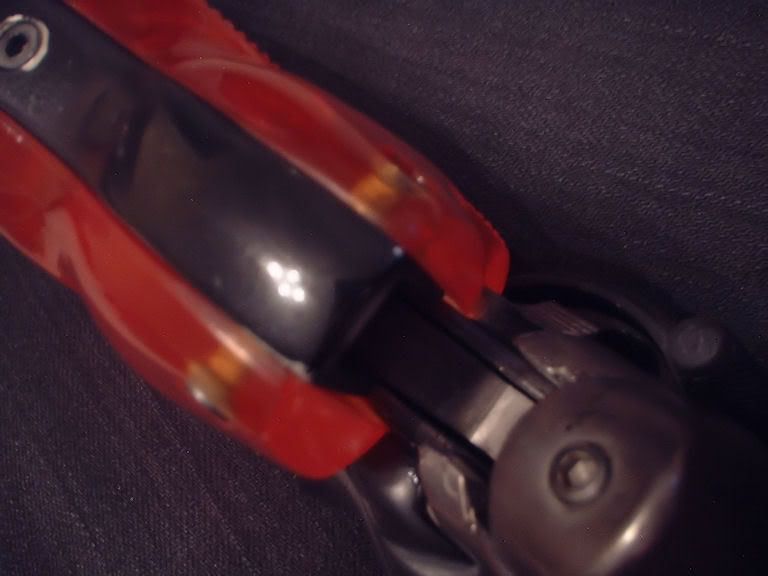
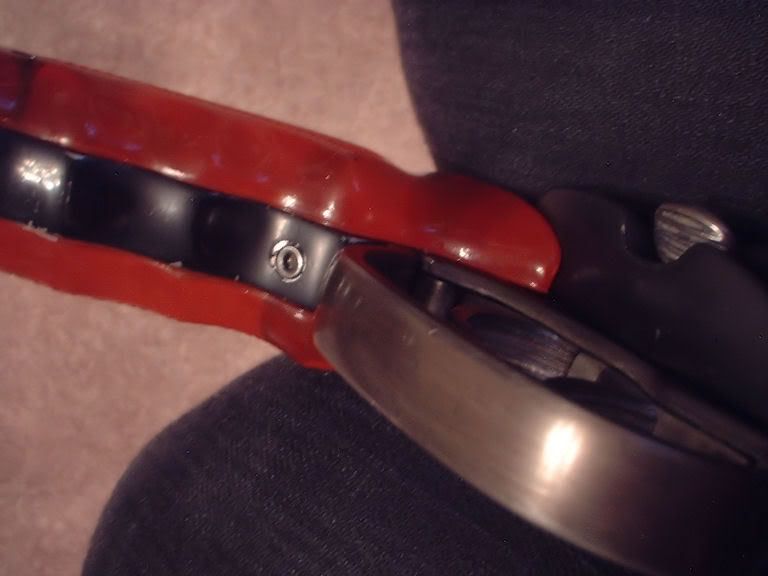
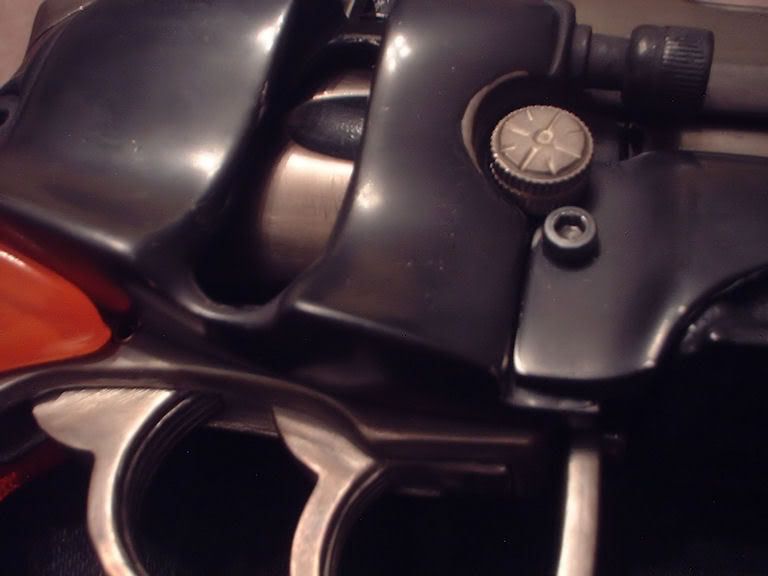
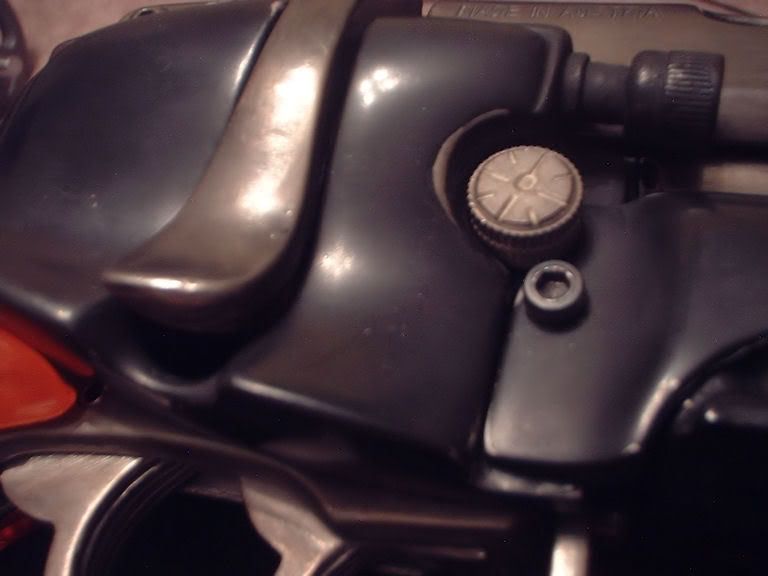
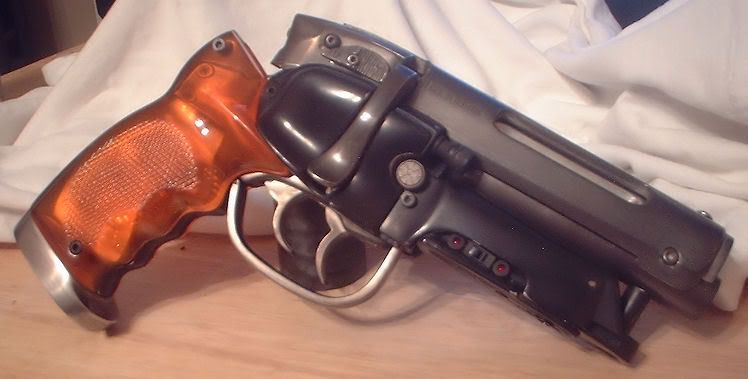
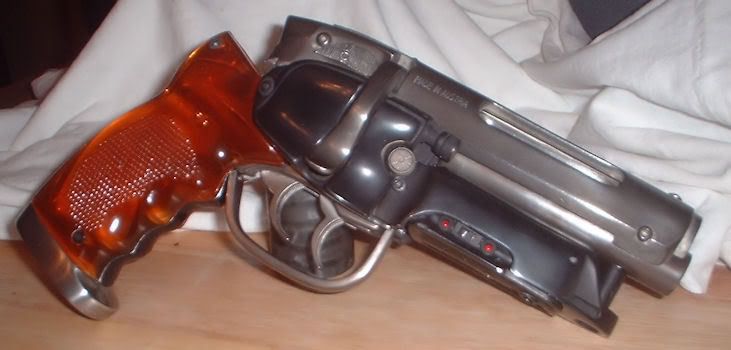
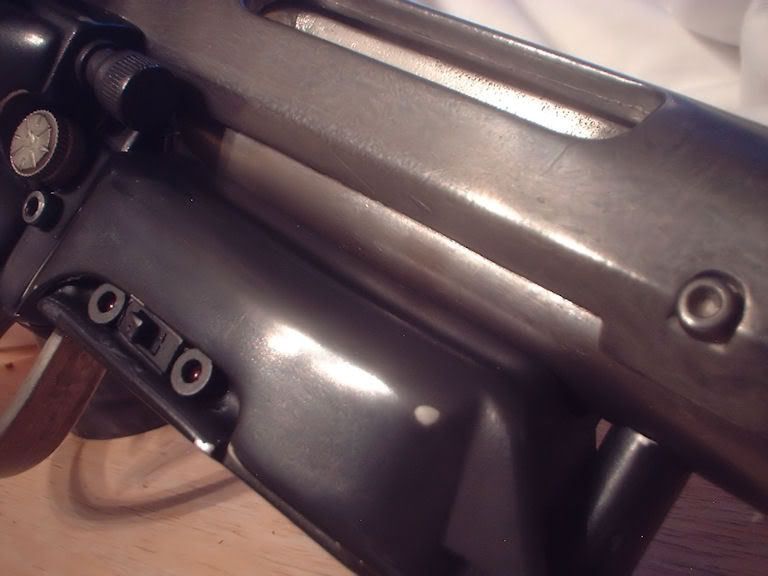
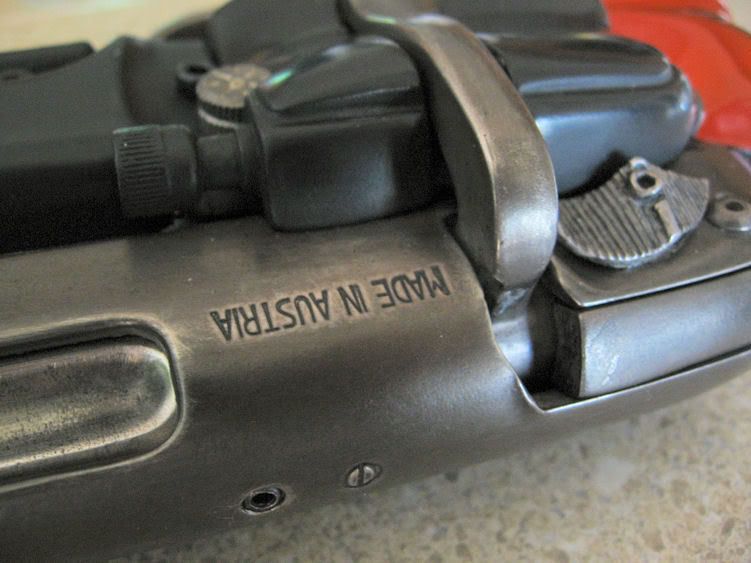
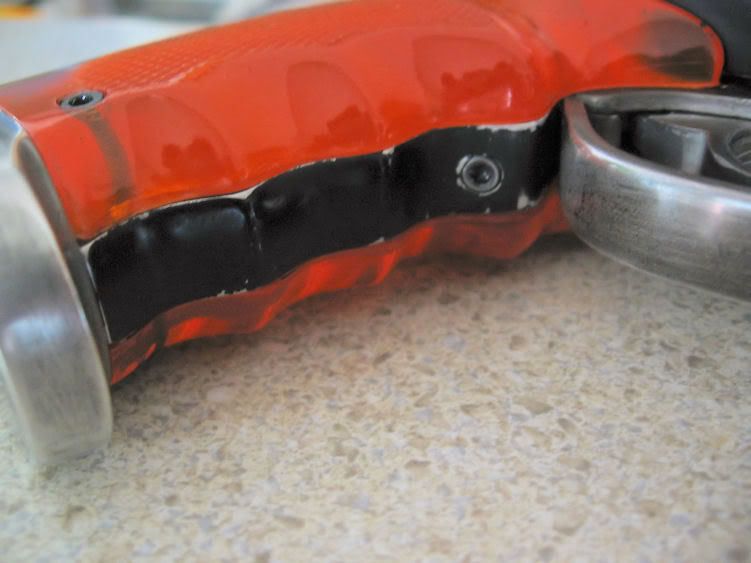
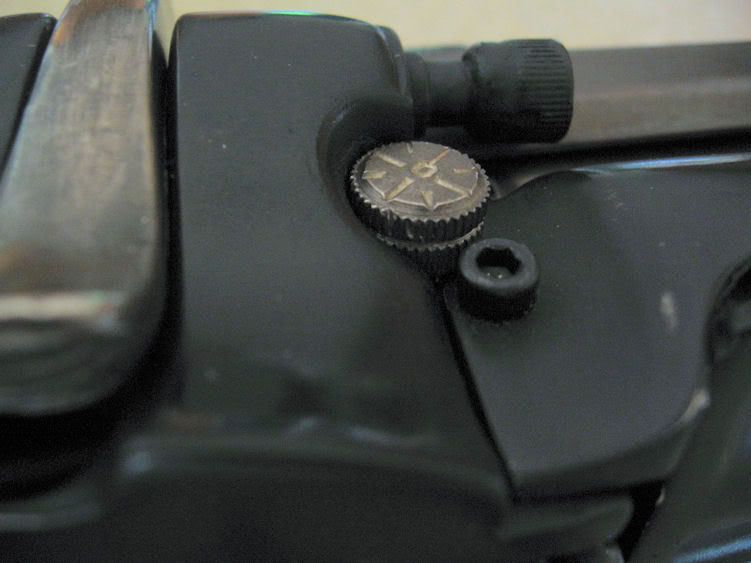
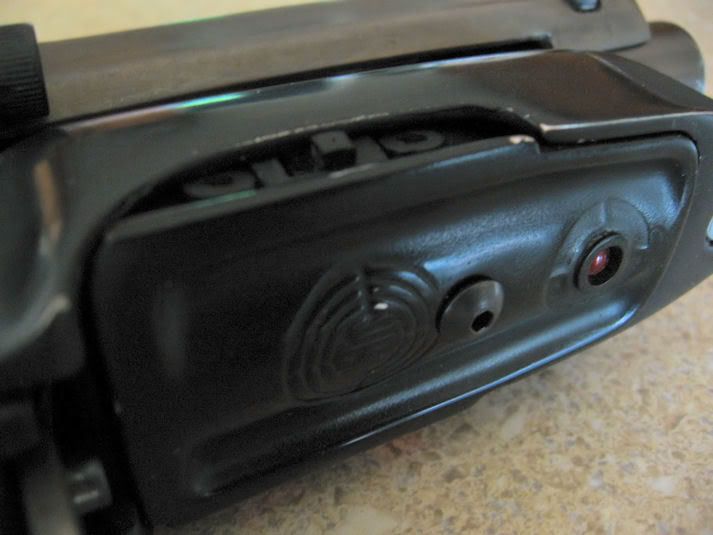
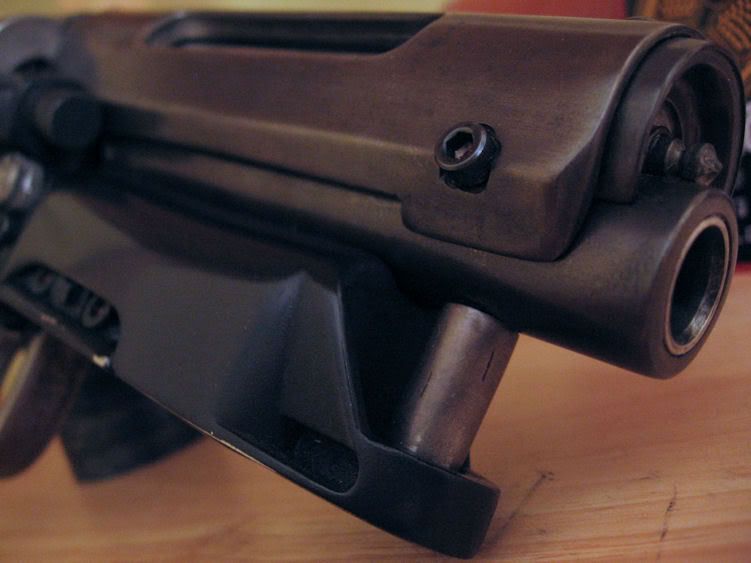
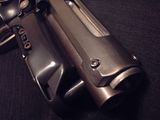
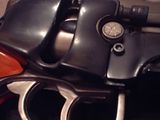
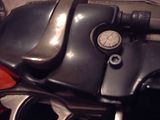
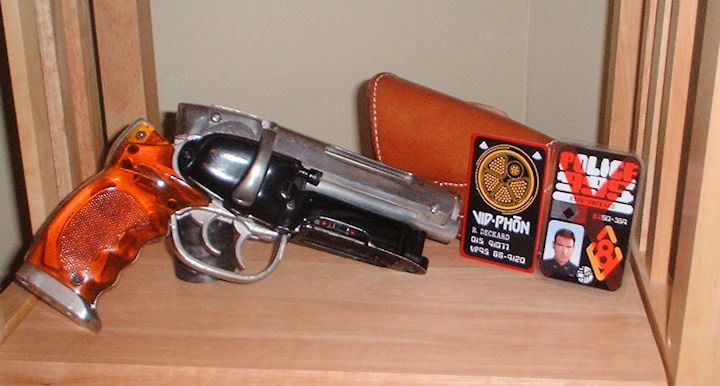
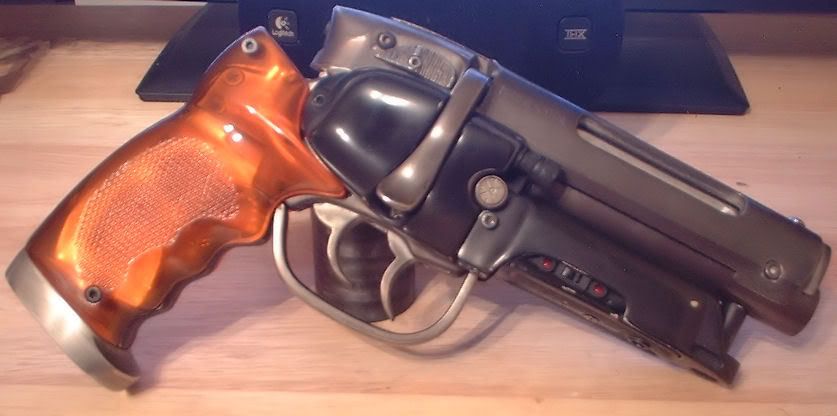
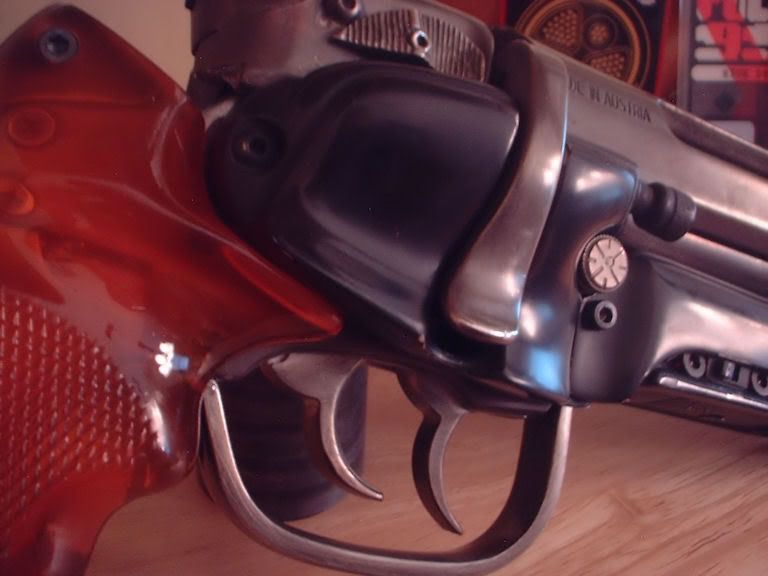
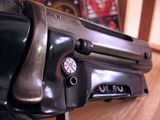
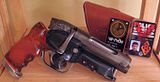
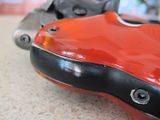
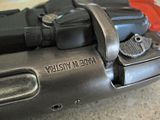
Anyway, I made a few more mods. Drilled out the two fake bolts on either side of the barrel and replaced them with real ones. Same for the bolt on the left of the right side cover.
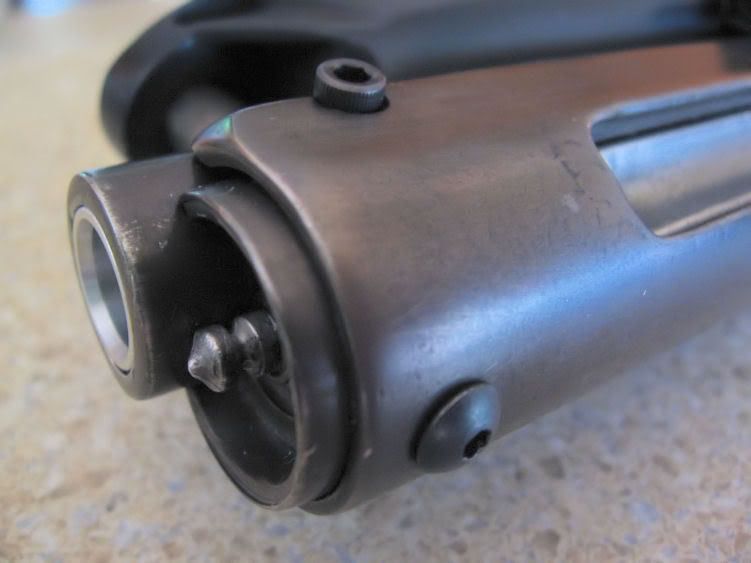
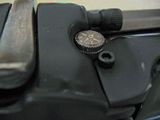
Also put 2 hex bolts on the underside. I forgot to get a shot of the one that leads to the barrel! The one at the bottom of the actual mag will be replaced with a flatter head bolt, but still hex. The one there is just a placeholder for now.
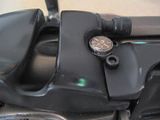
Drilled the "targeting device" and inserted the green LEDs.
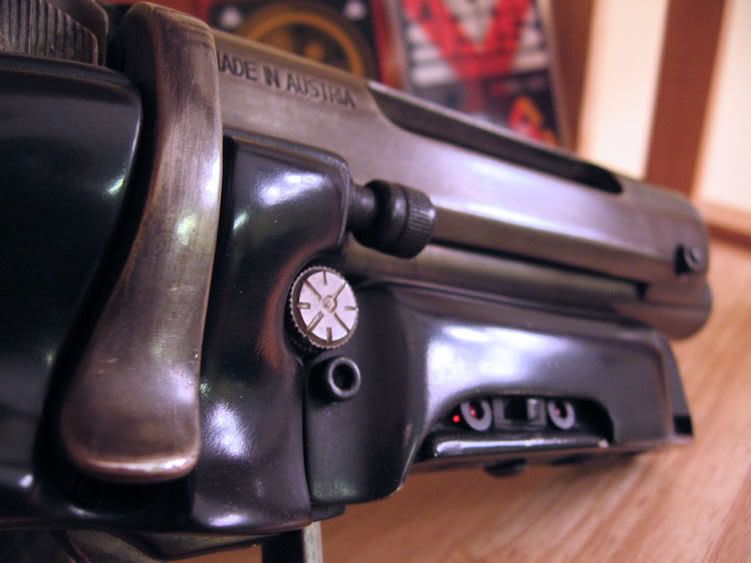
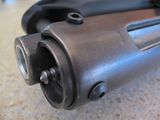
I also made a little insert for the barrel from aluminum. I'd really like to get that chamfer on the darn barrel, but I'm not sure what I can do other than make a whole new barrel.
Also sprayed a couple more layers of paint on and tried to get it shiny. I'm not the best with paint, so I'm trying different things.
Borrowed a slightly better camera, so here's some slightly better pics.
   |
|
| Back to top |
|
|
|
|
|
|
|
|
|
|
|
| Author |
Message |
BeastMaster
Community Member
Joined: 19 Jul 2007
Posts: 994
Location: UK
|
| Posted: Mon Jun 02, 2008 5:32 pm Post subject: |
|
|
dan: did you use any blacken-it? or just the perma blue?
blaster looking even better! |
|
| Back to top |
|
|
|
|
|
|
|
|
|
|
|
|
You cannot post new topics in this forum
You cannot reply to topics in this forum
You cannot edit your posts in this forum
You cannot delete your posts in this forum
You cannot vote in polls in this forum
|
|
|
|
|
|
|
|